My Pump it Up dance pad build log
In late 2023, I got into pump it up and decided I wanted a way to play at home. I tried playing on soft pads but was very unsatisfied with the performance so set out to build my own arcade style pads. I didn't have much money for this project, so did as much of it with leftover materials from other projects and materials I could get cheaply or for free. This is a build log, I guess. For this whole build I followed schematics from the openpad github repo, without which this wouldn't be possible. Thanks!
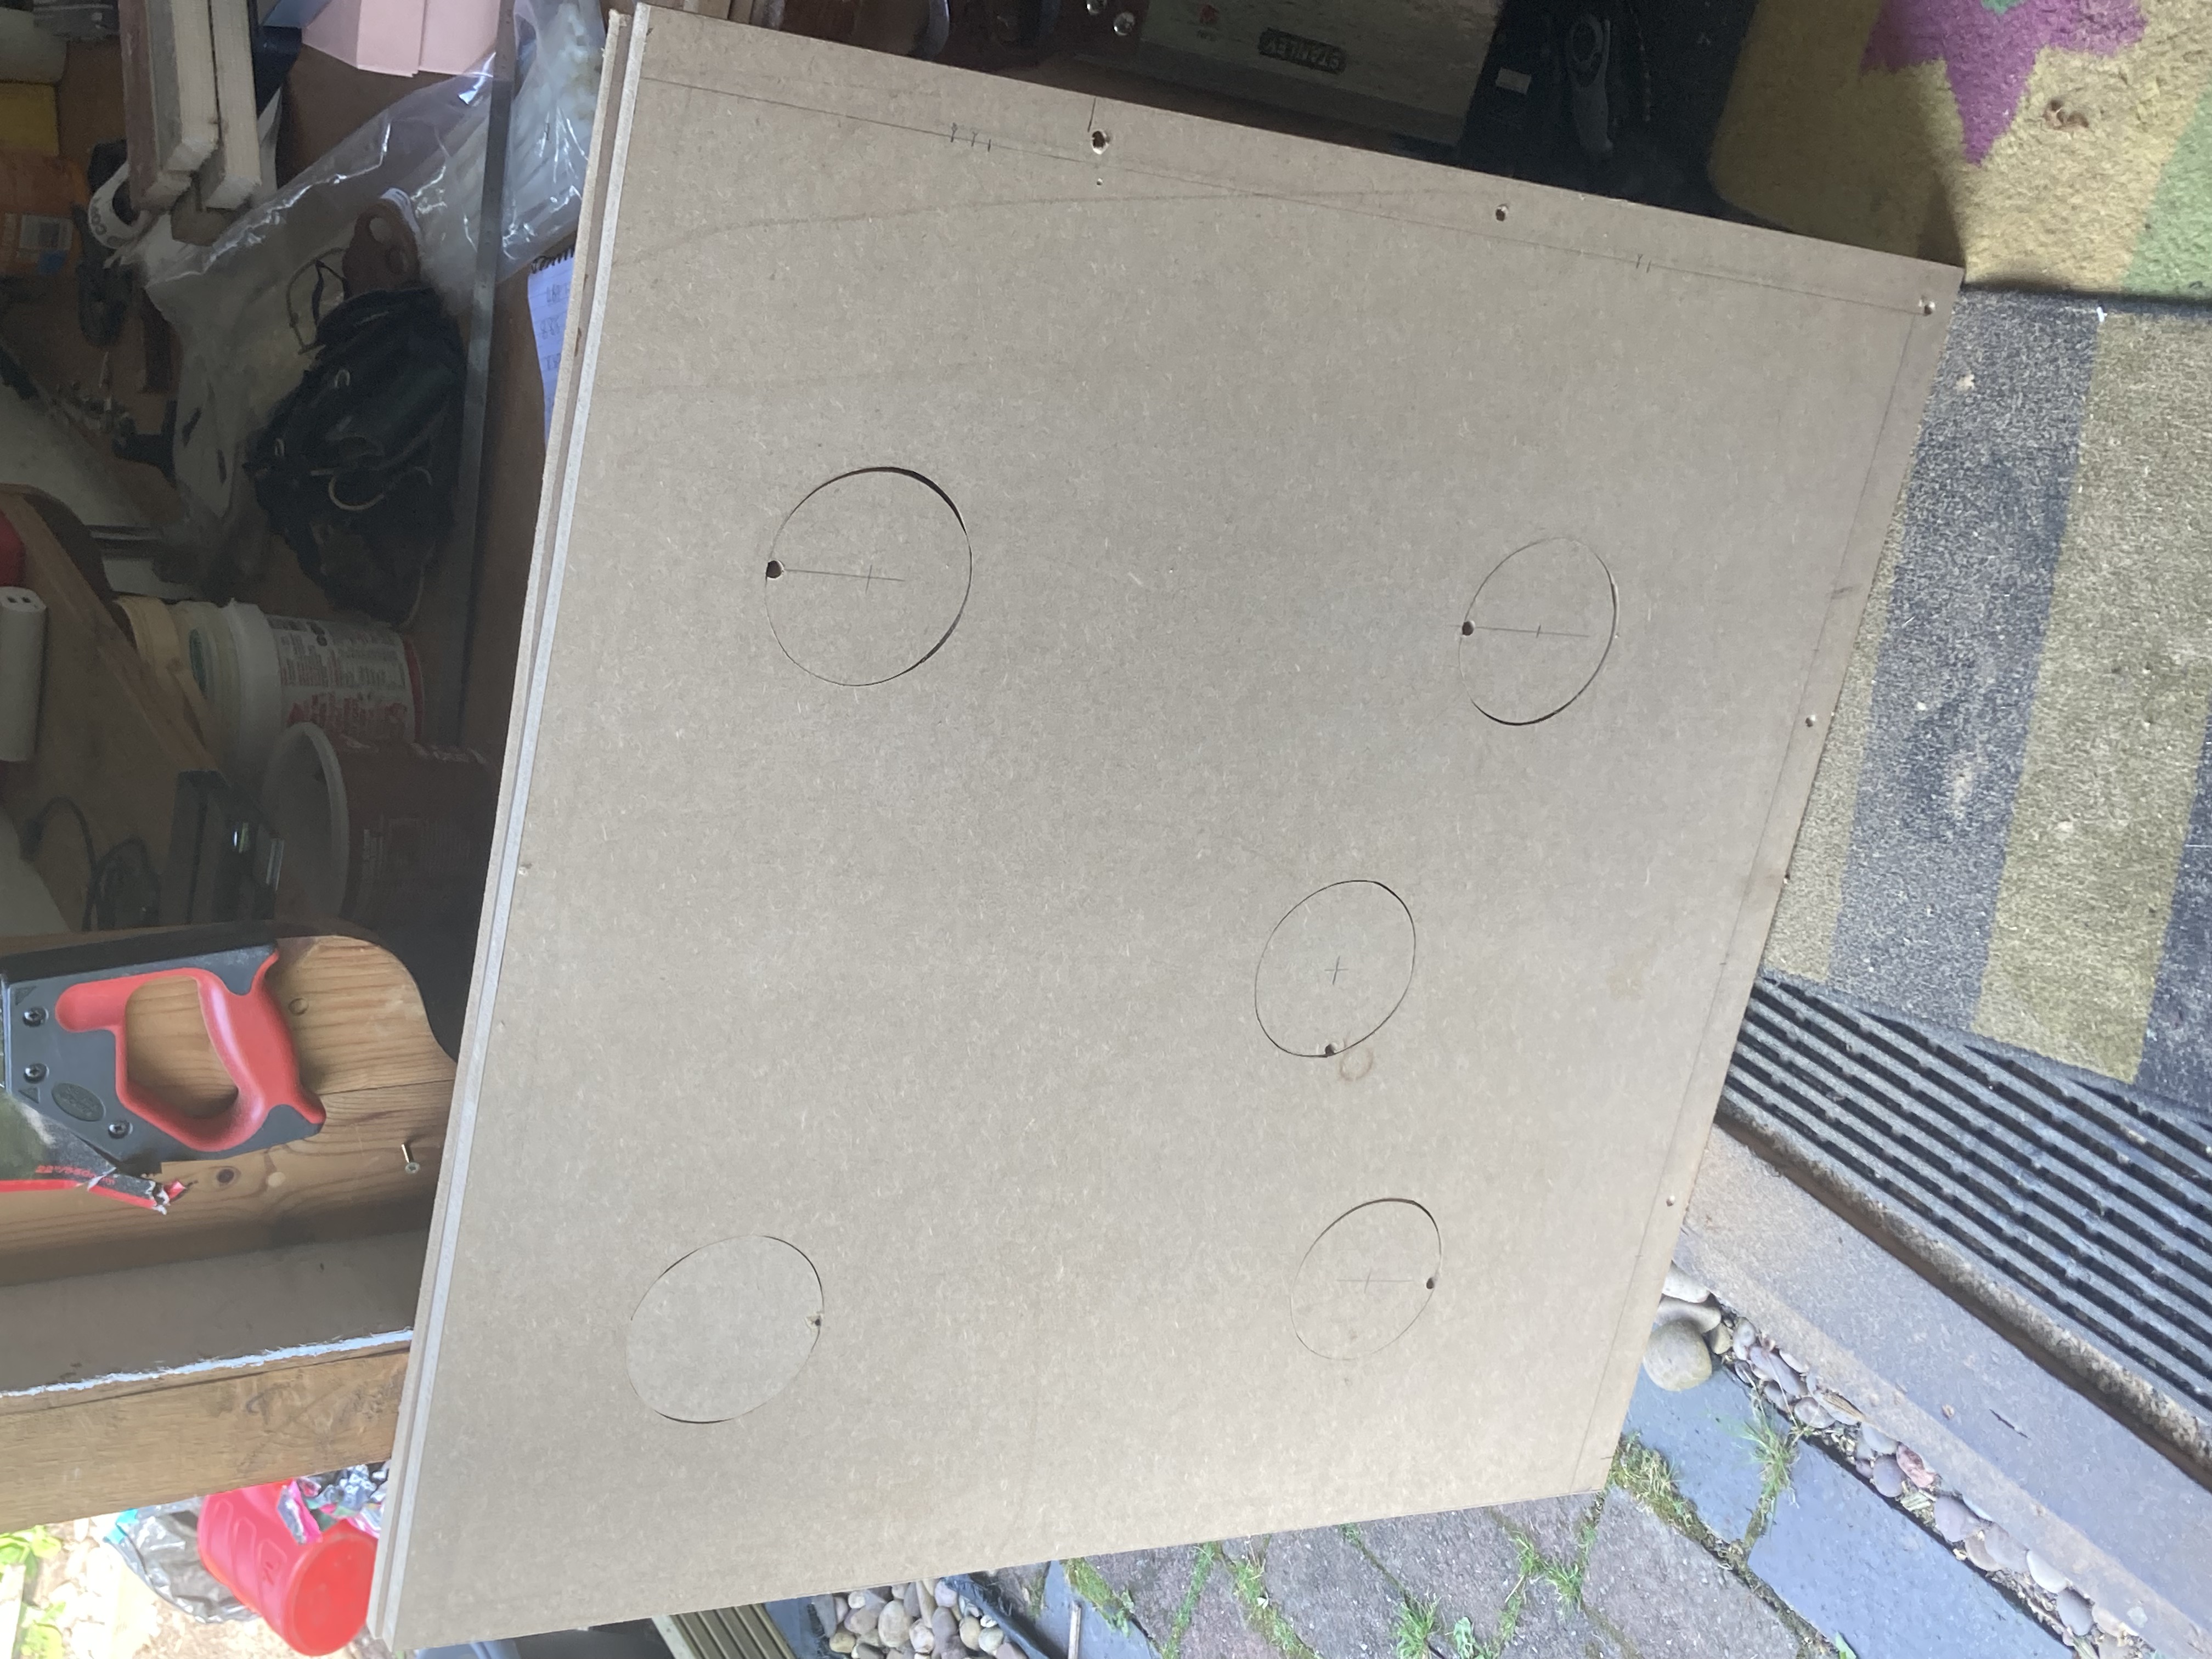
The base boards for the pads were made from a big sheet of MDF my dad had in his shed lying around from a previous project, which we cut into two boards roughly the right size. (the holes were leftovers from the previous use. I glued them back in.)
I bought the dance pad sensors from aliexpress. The ones I bought seem pretty much standard and show up if you search for "dance pad sensor".
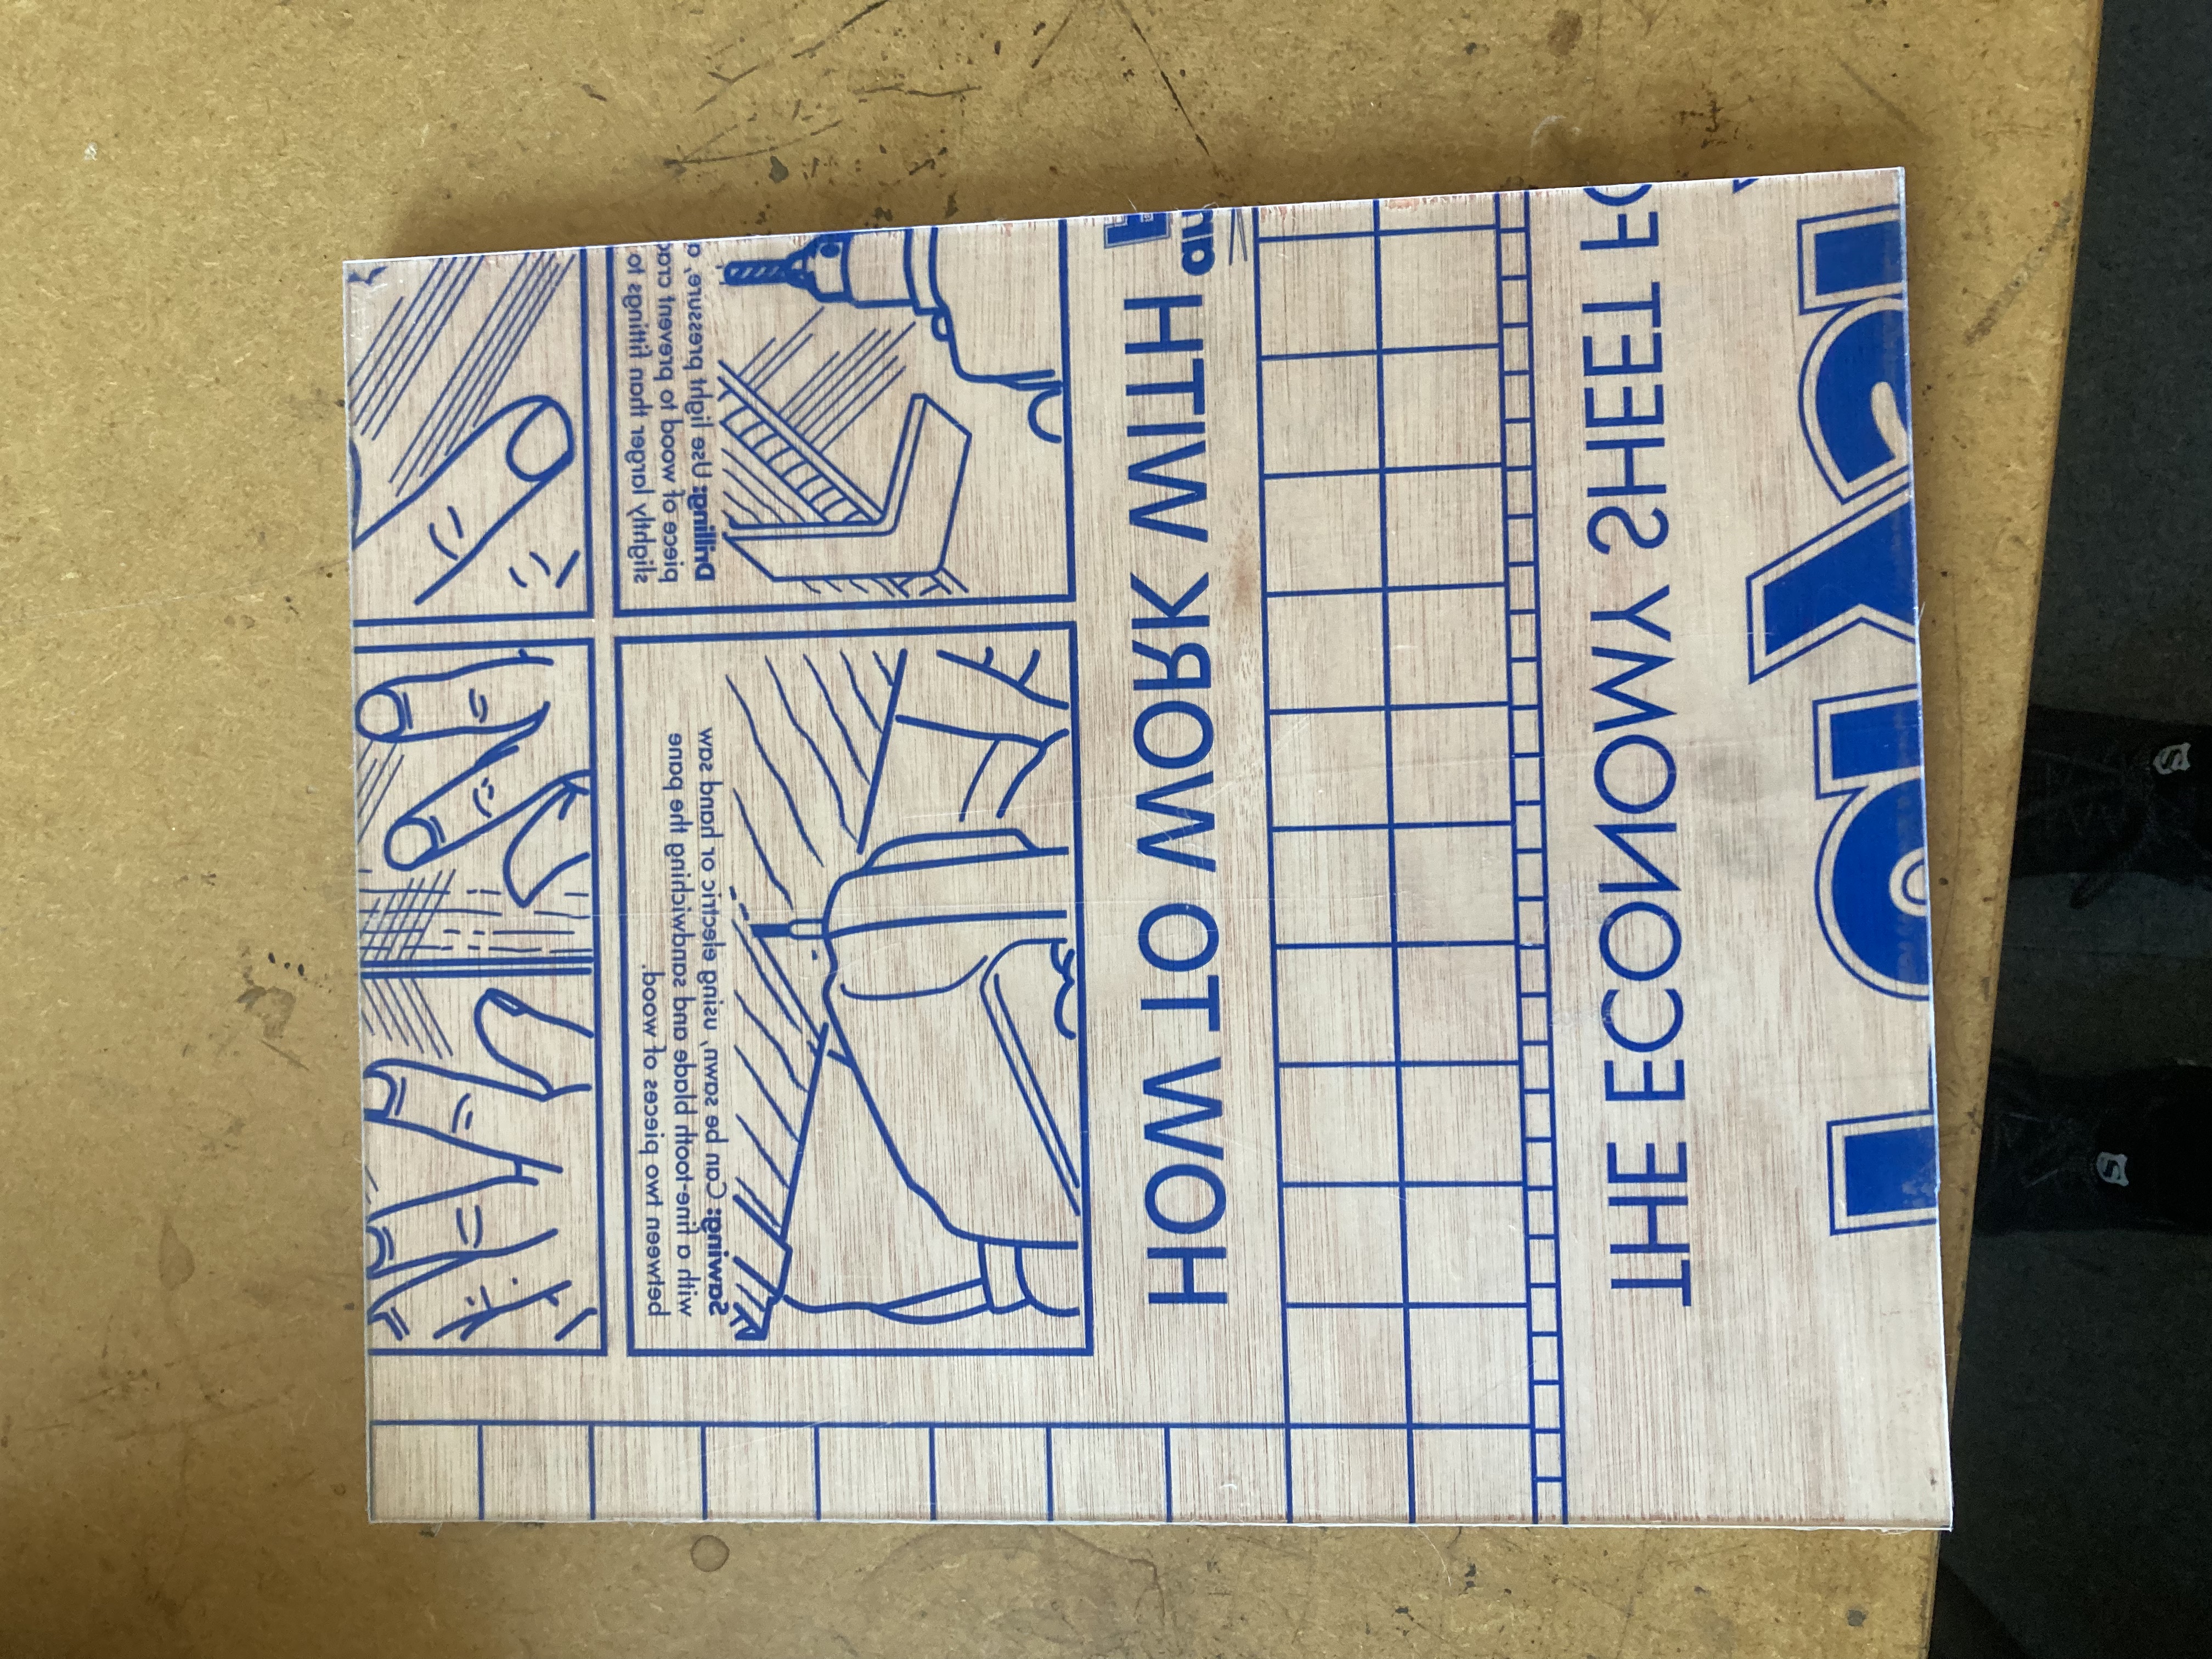
For the panels, I used wood (from B&Q - one sheet of 12mm ply had enough wood for all the panels, and I got them cut to size in the shop). I used 2mm polystyrene sheet that was lying around in the hackspace for the tops of the panels. This stuff was horrible to work, having to be score and snapped to be cut, being difficult to cut accurately, and shattering at the slightest mishandling.
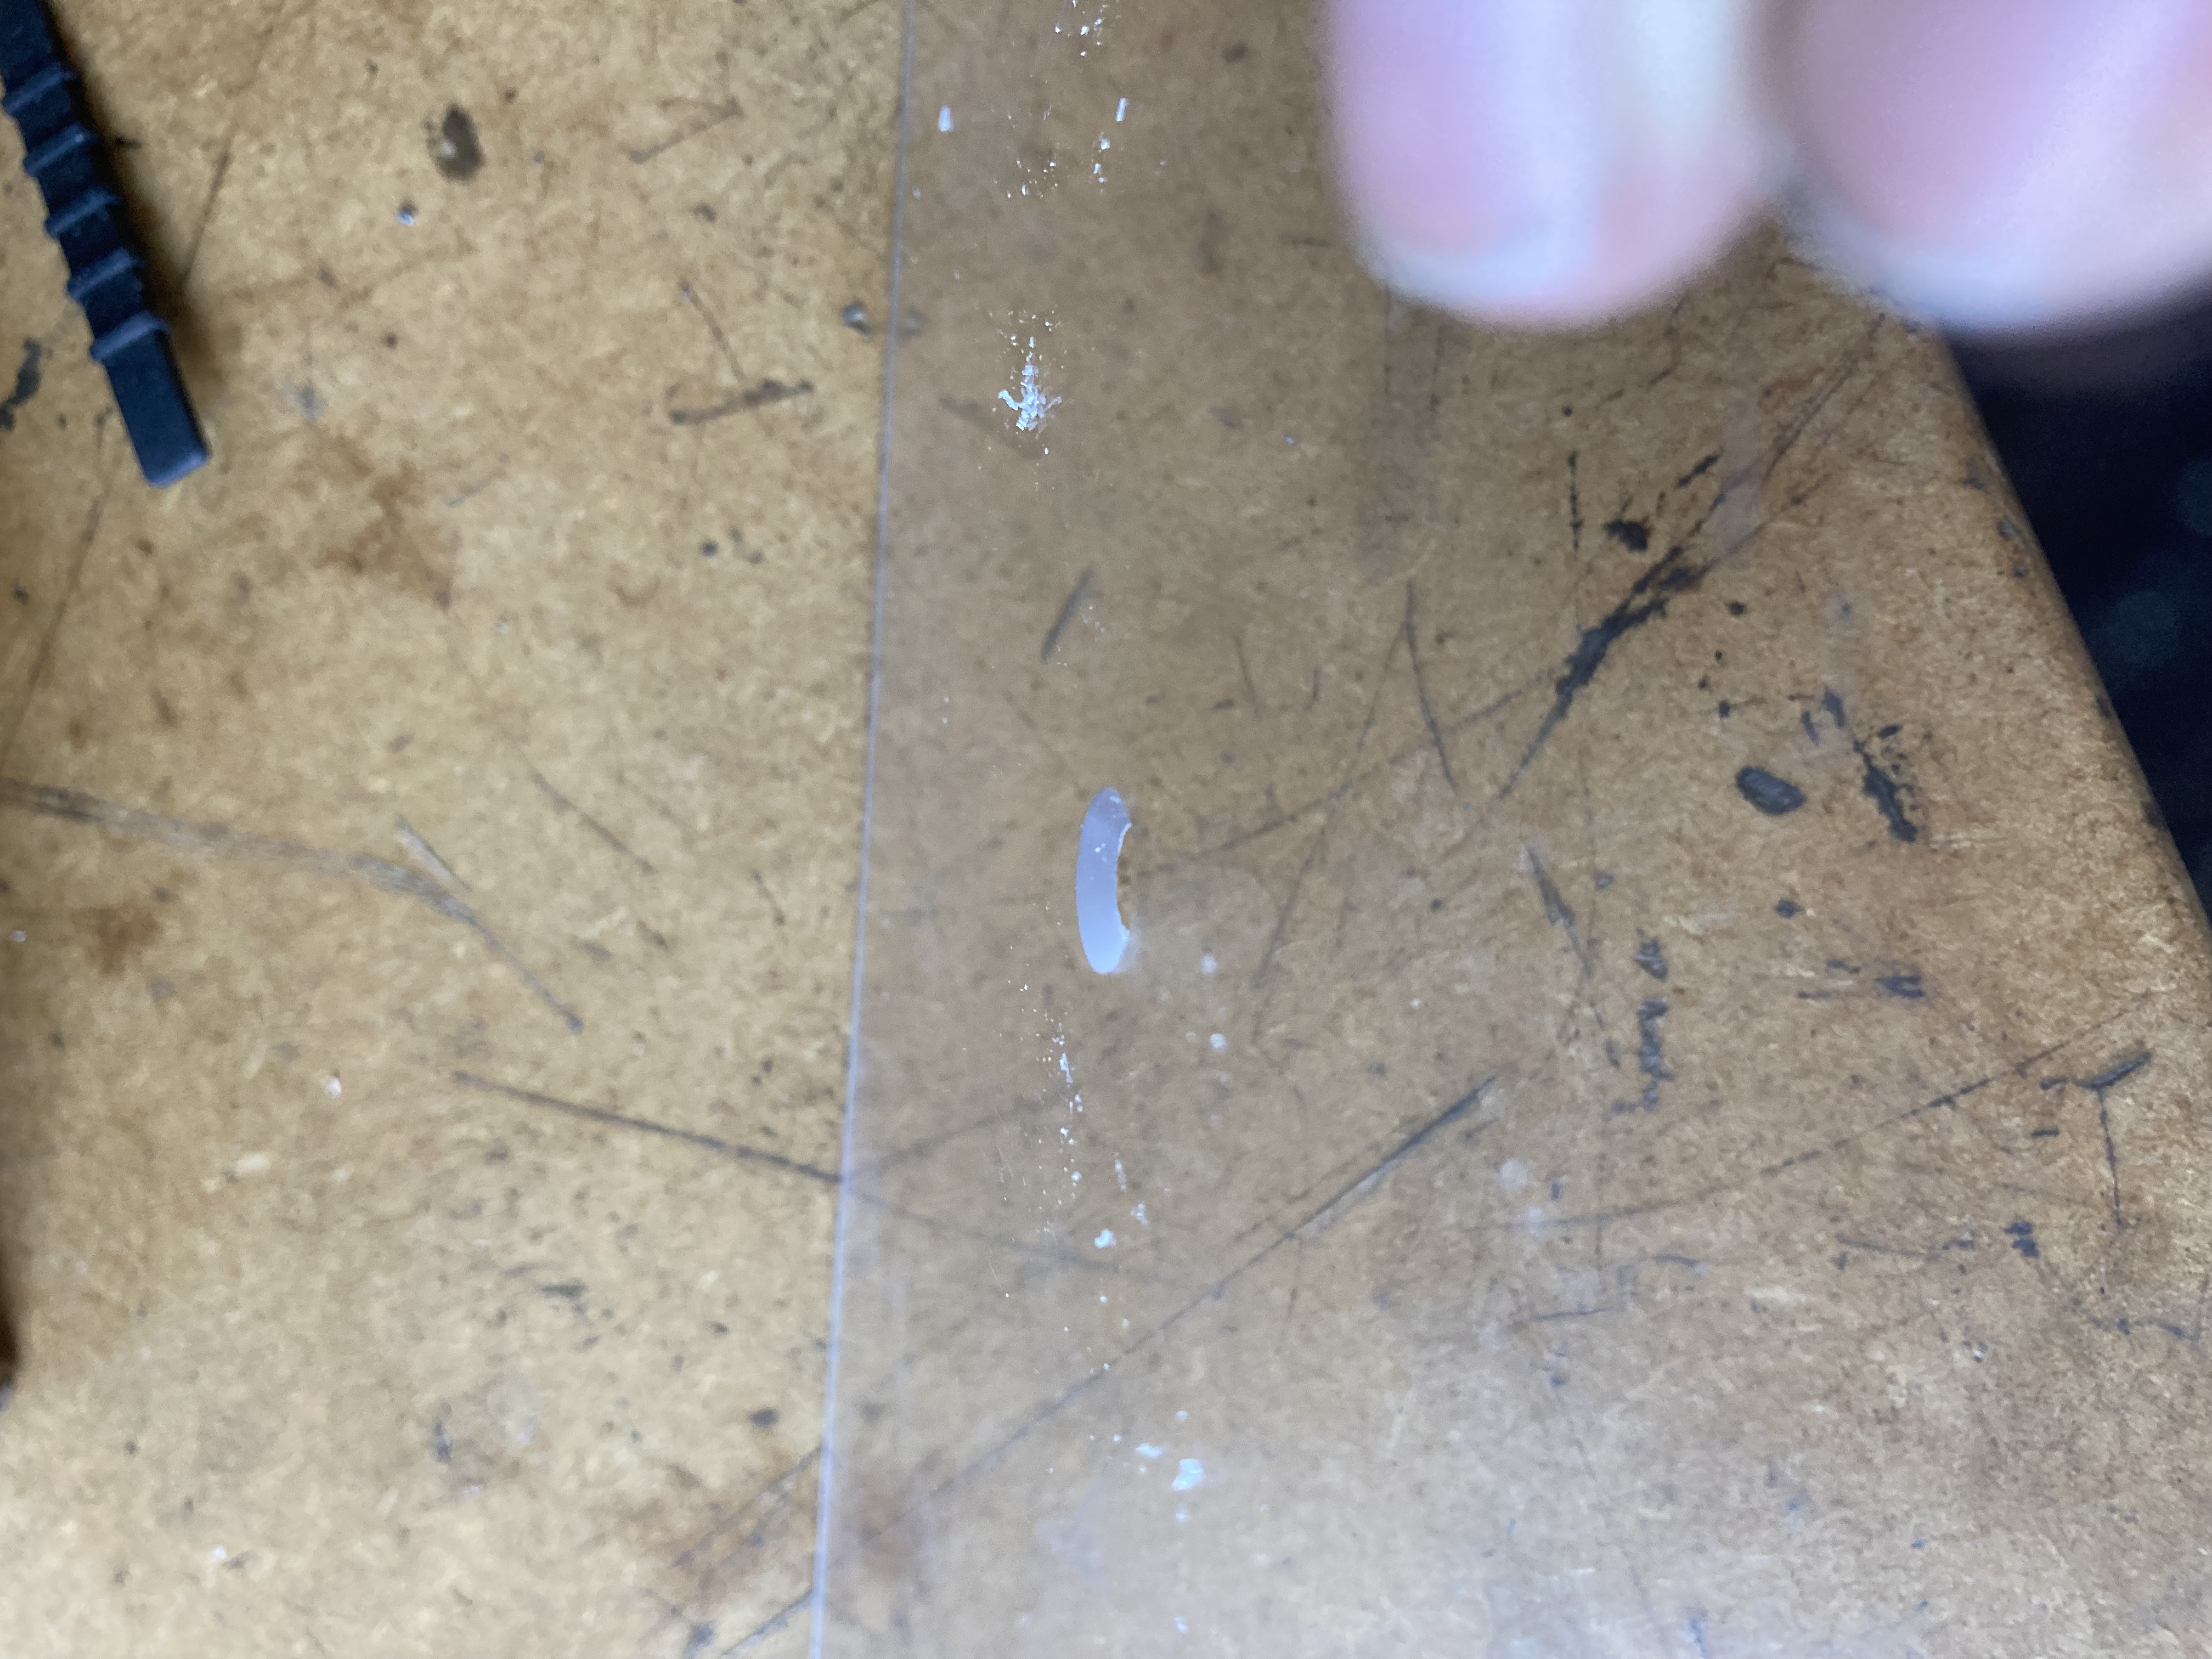
I wanted to do a bracketless mounting style, which involved countersinking the panels. This worked surprisingly well in the plastic, but it took a LOT of care. The plastic panel pieces are just held by friction on top of the wooden panel pieces when the pad is fully assembled.
with the base boards and sensors, and a test panel, I decided to design a mounting system to mount the sensors to the base board. Turns out, Mersanary already made one, and put it on thingiverse (thanks!).
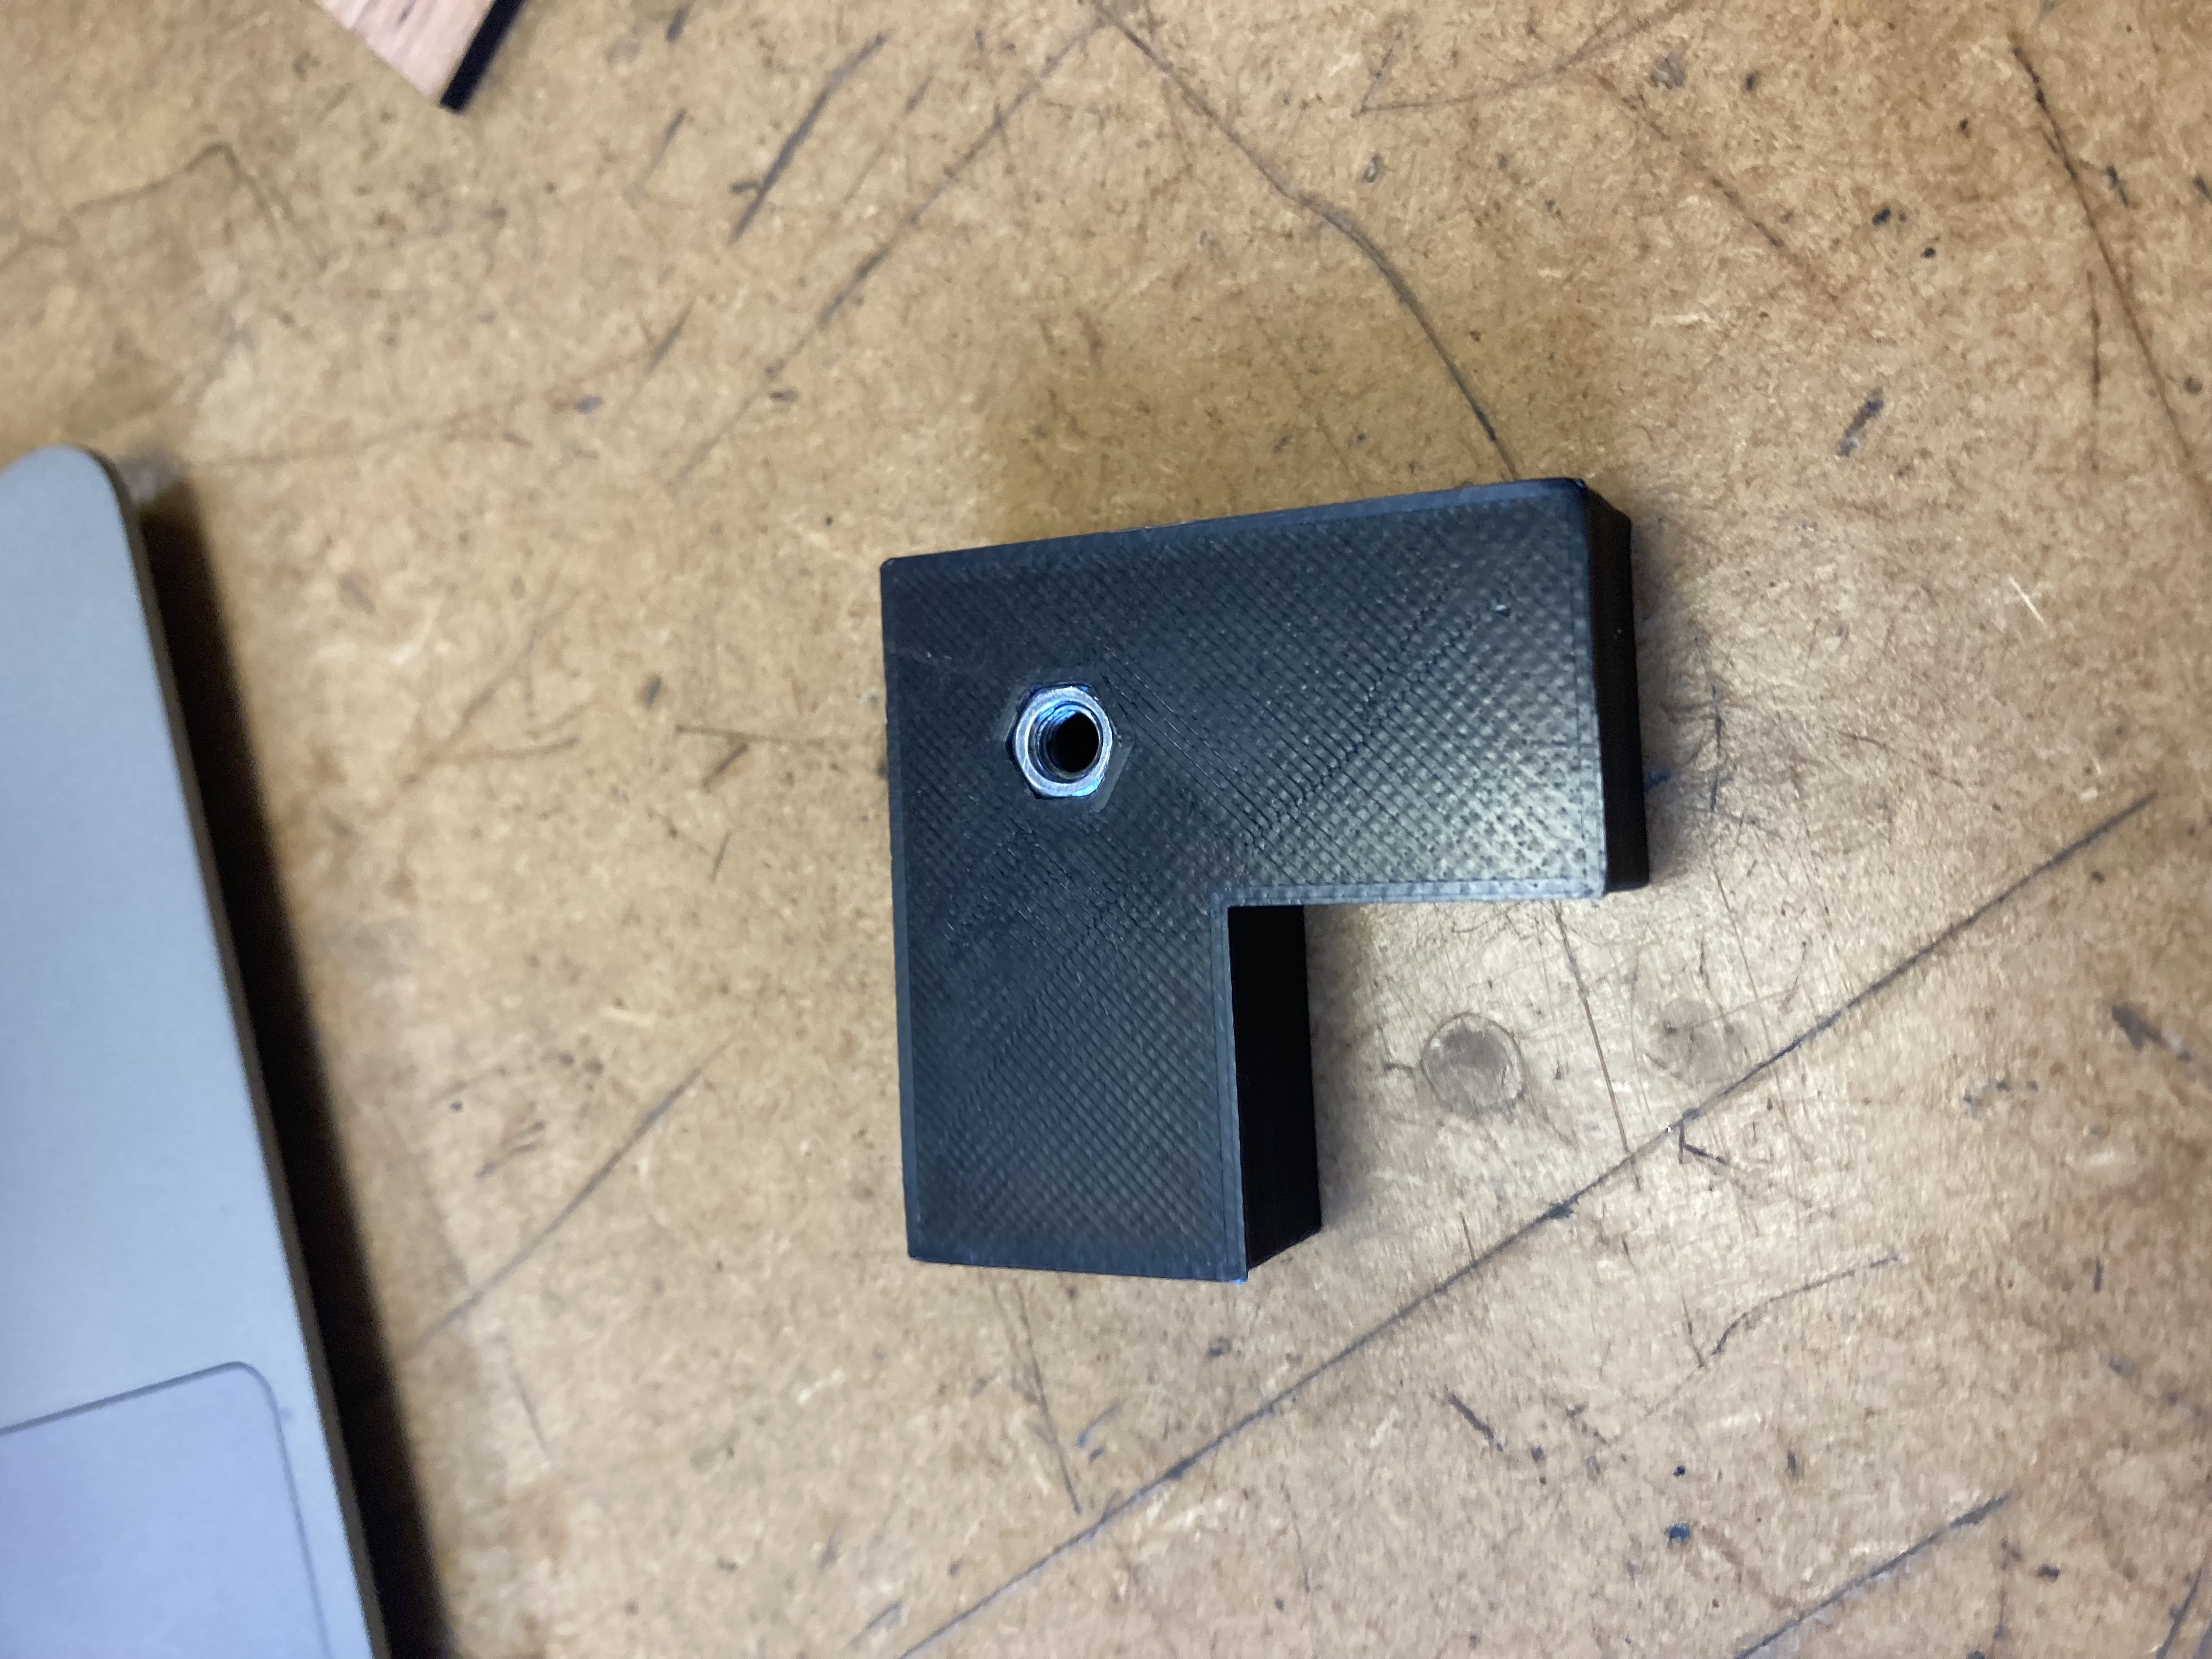
I also designed a 3d printed corner part for the panels to bolt into. It uses a captive nut design at the bottom of the 3d print for attaching the panel.
Using these two printed parts I mocked up the mounting for one panel on the base board.
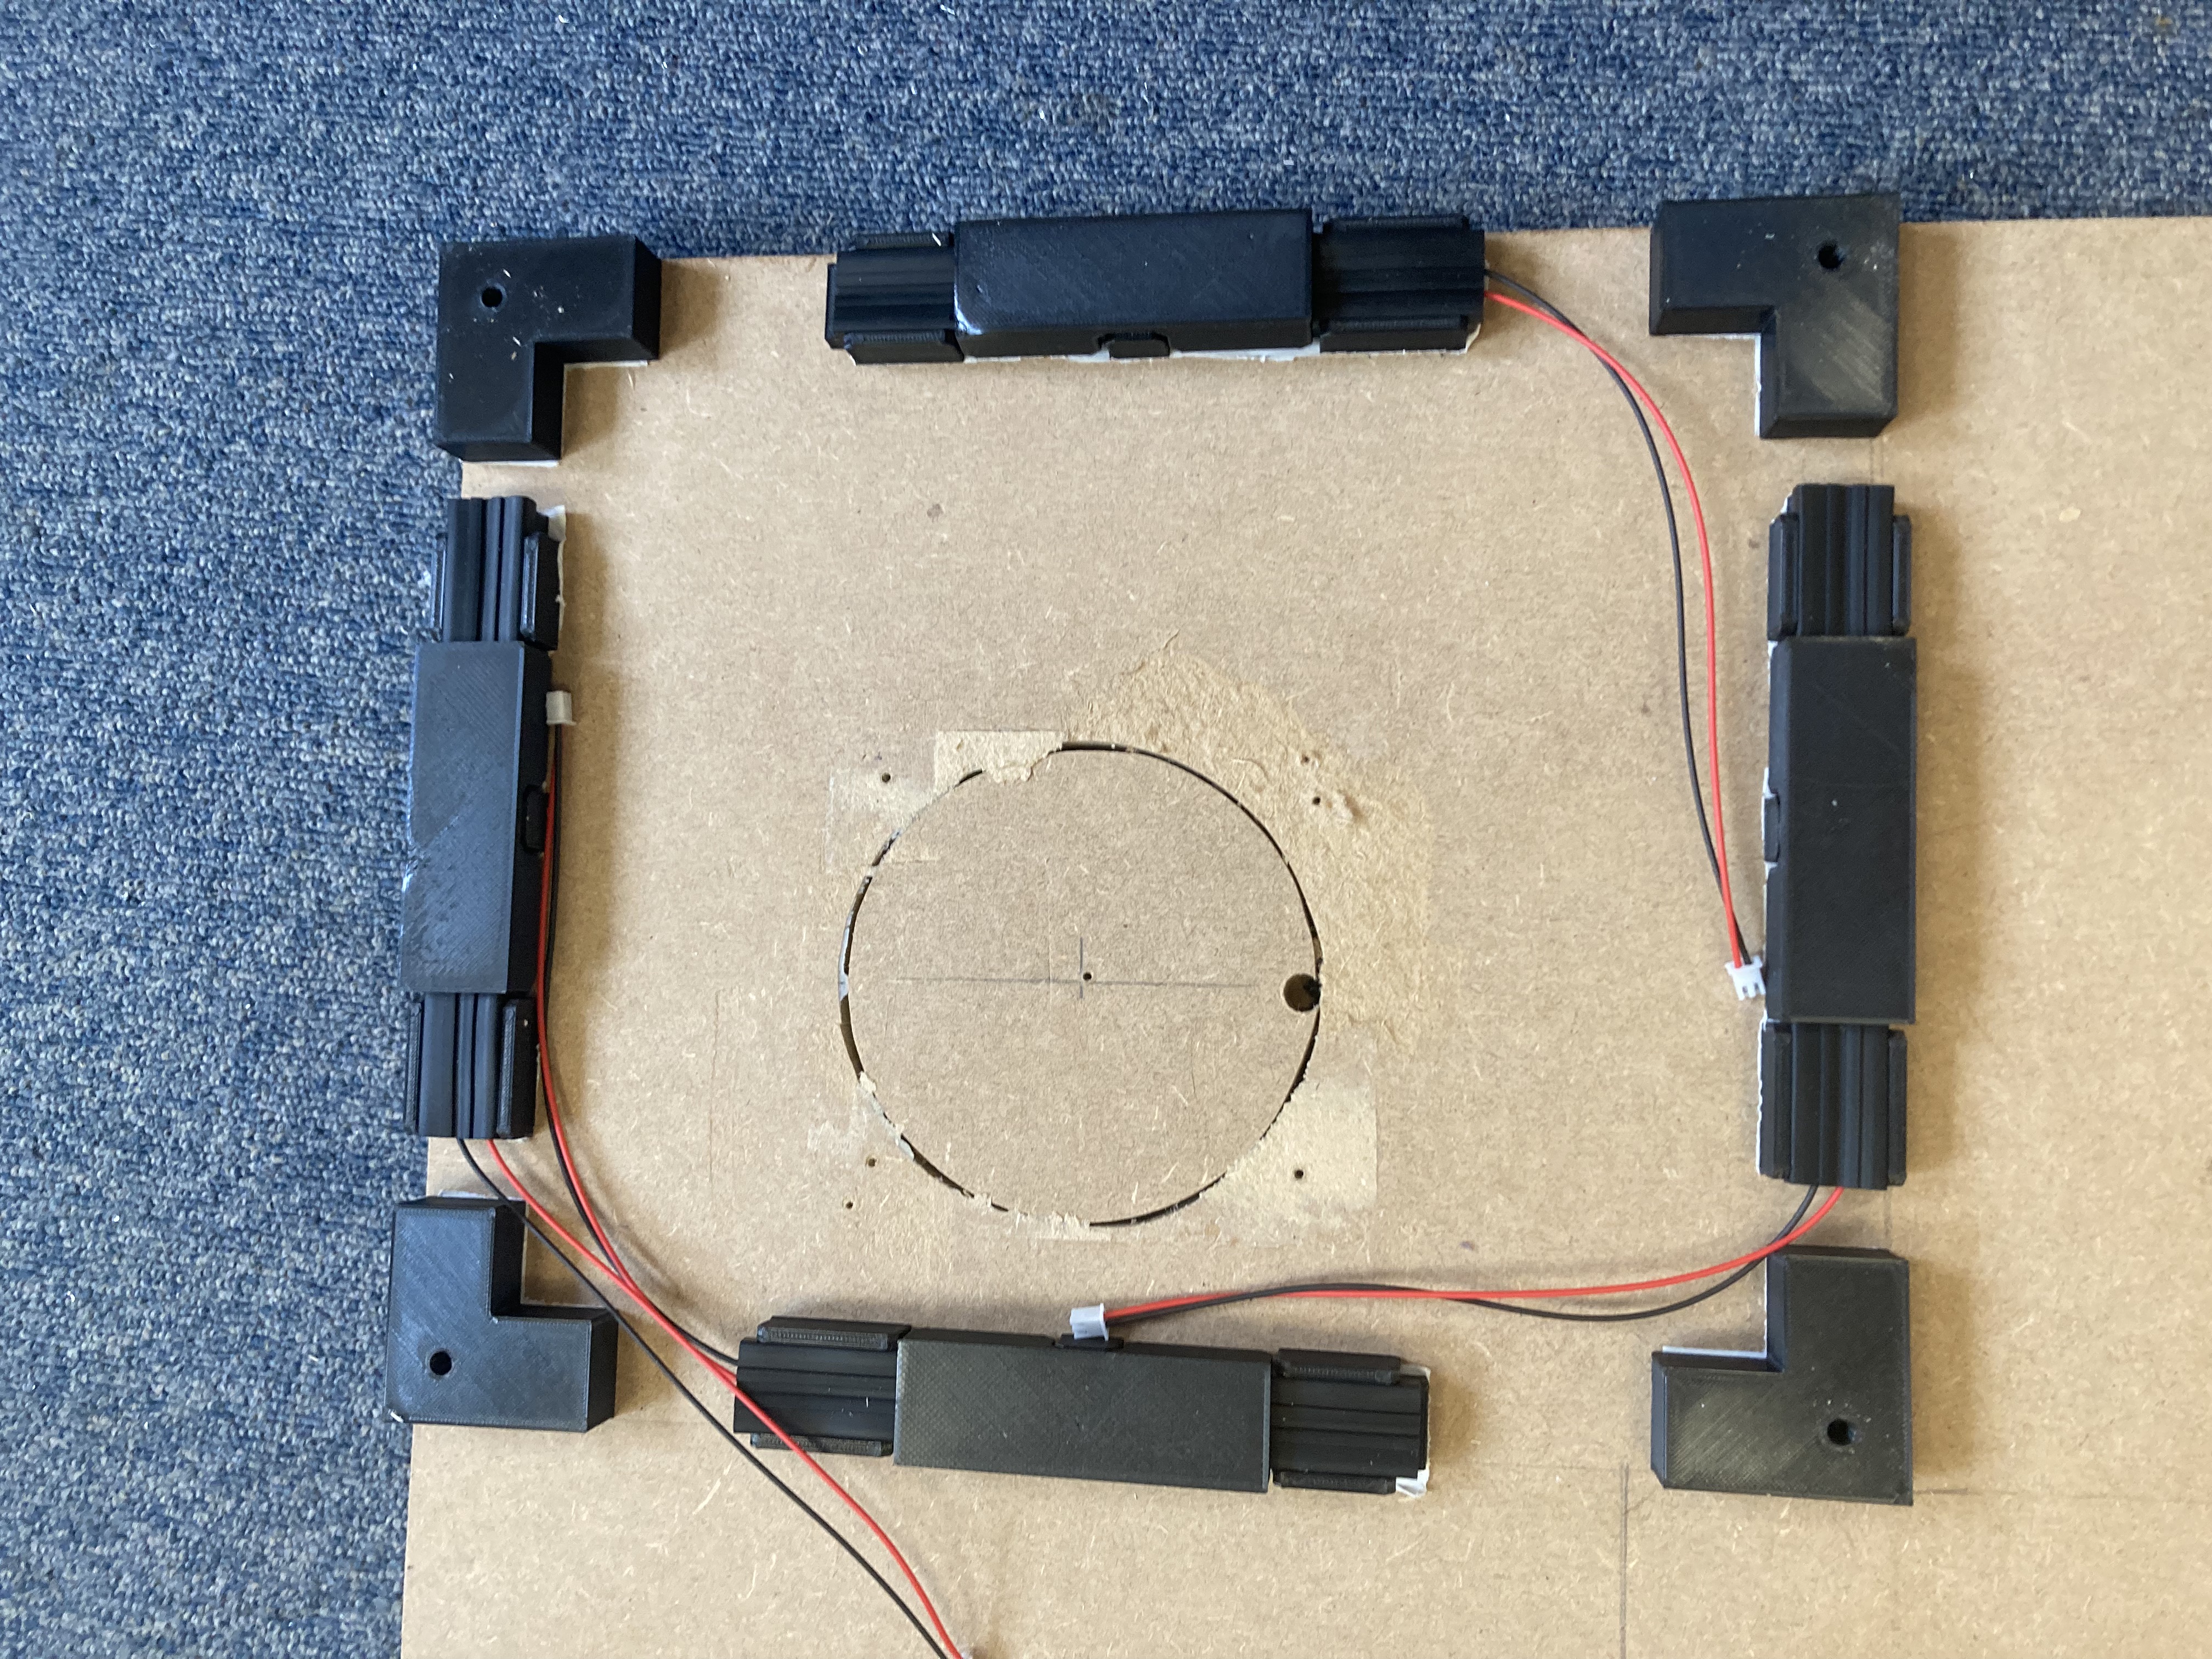
This first mockup used double sided tape for mounting the corners to the base board. I fairly soon after altered this design to have screw holes to hold it better to the base board. Double sided tape still worked great for mounting the sensors.
I considered various options for the arrow decals, including testing using spray paint on the back of the plastic sheet, but ended up printing them on paper and putting the paper in between the wooden and plastic layer of the panels. This lead to me going on a sidequest to find good decal graphics, and doing a trace and vectorisation of the arcade arrow graphics, which you can get for yourself here, meaning the panels now had pretty graphics.
At this point I also redesigned the corner mounts to have screw holes for more stability, and rebuilt my test panel. This was the mounting design I ended up sticking with for the pad.

Then I started thinking about designs for the inactive panels (the ones that are not active steps in the game). Unlike the main panels, they don't have sensors. In the end I settled on using an embedded nut design similar to the main panels but in a simple wooden block at a similar height to the 3d print. The inactive panels themselves are built the same way as the active panels just without decals.
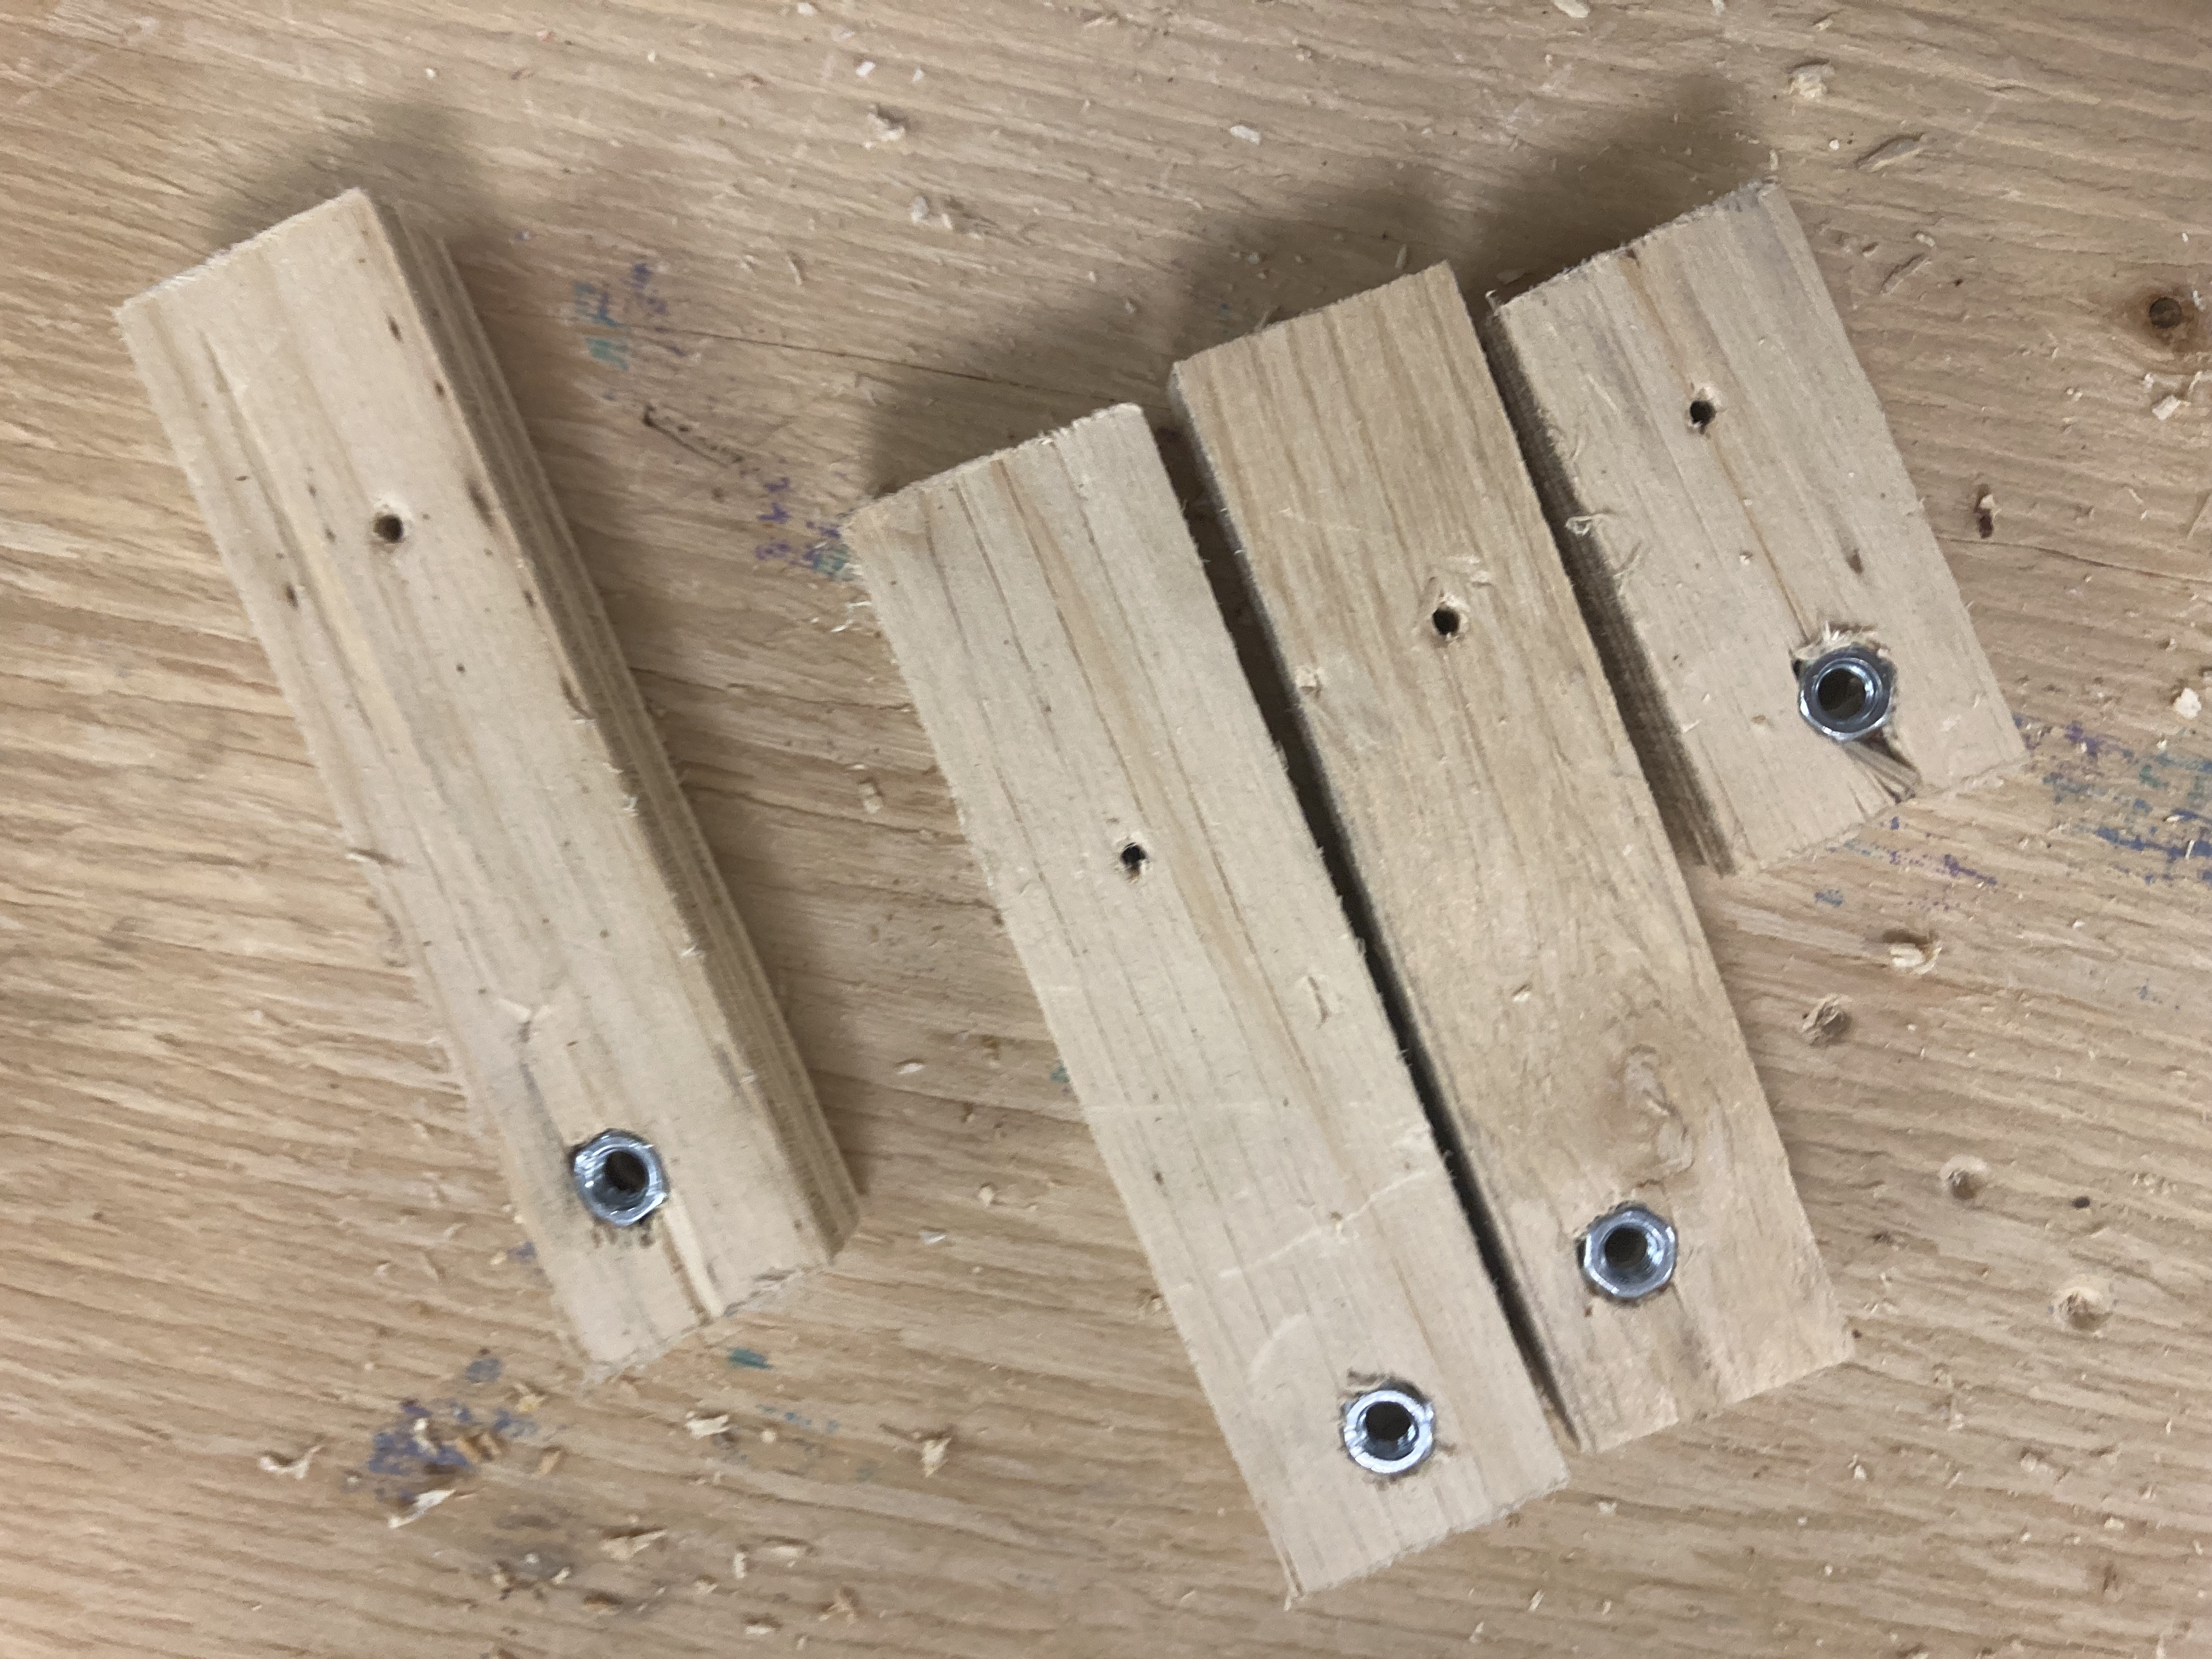 inactive panel mounting blocks
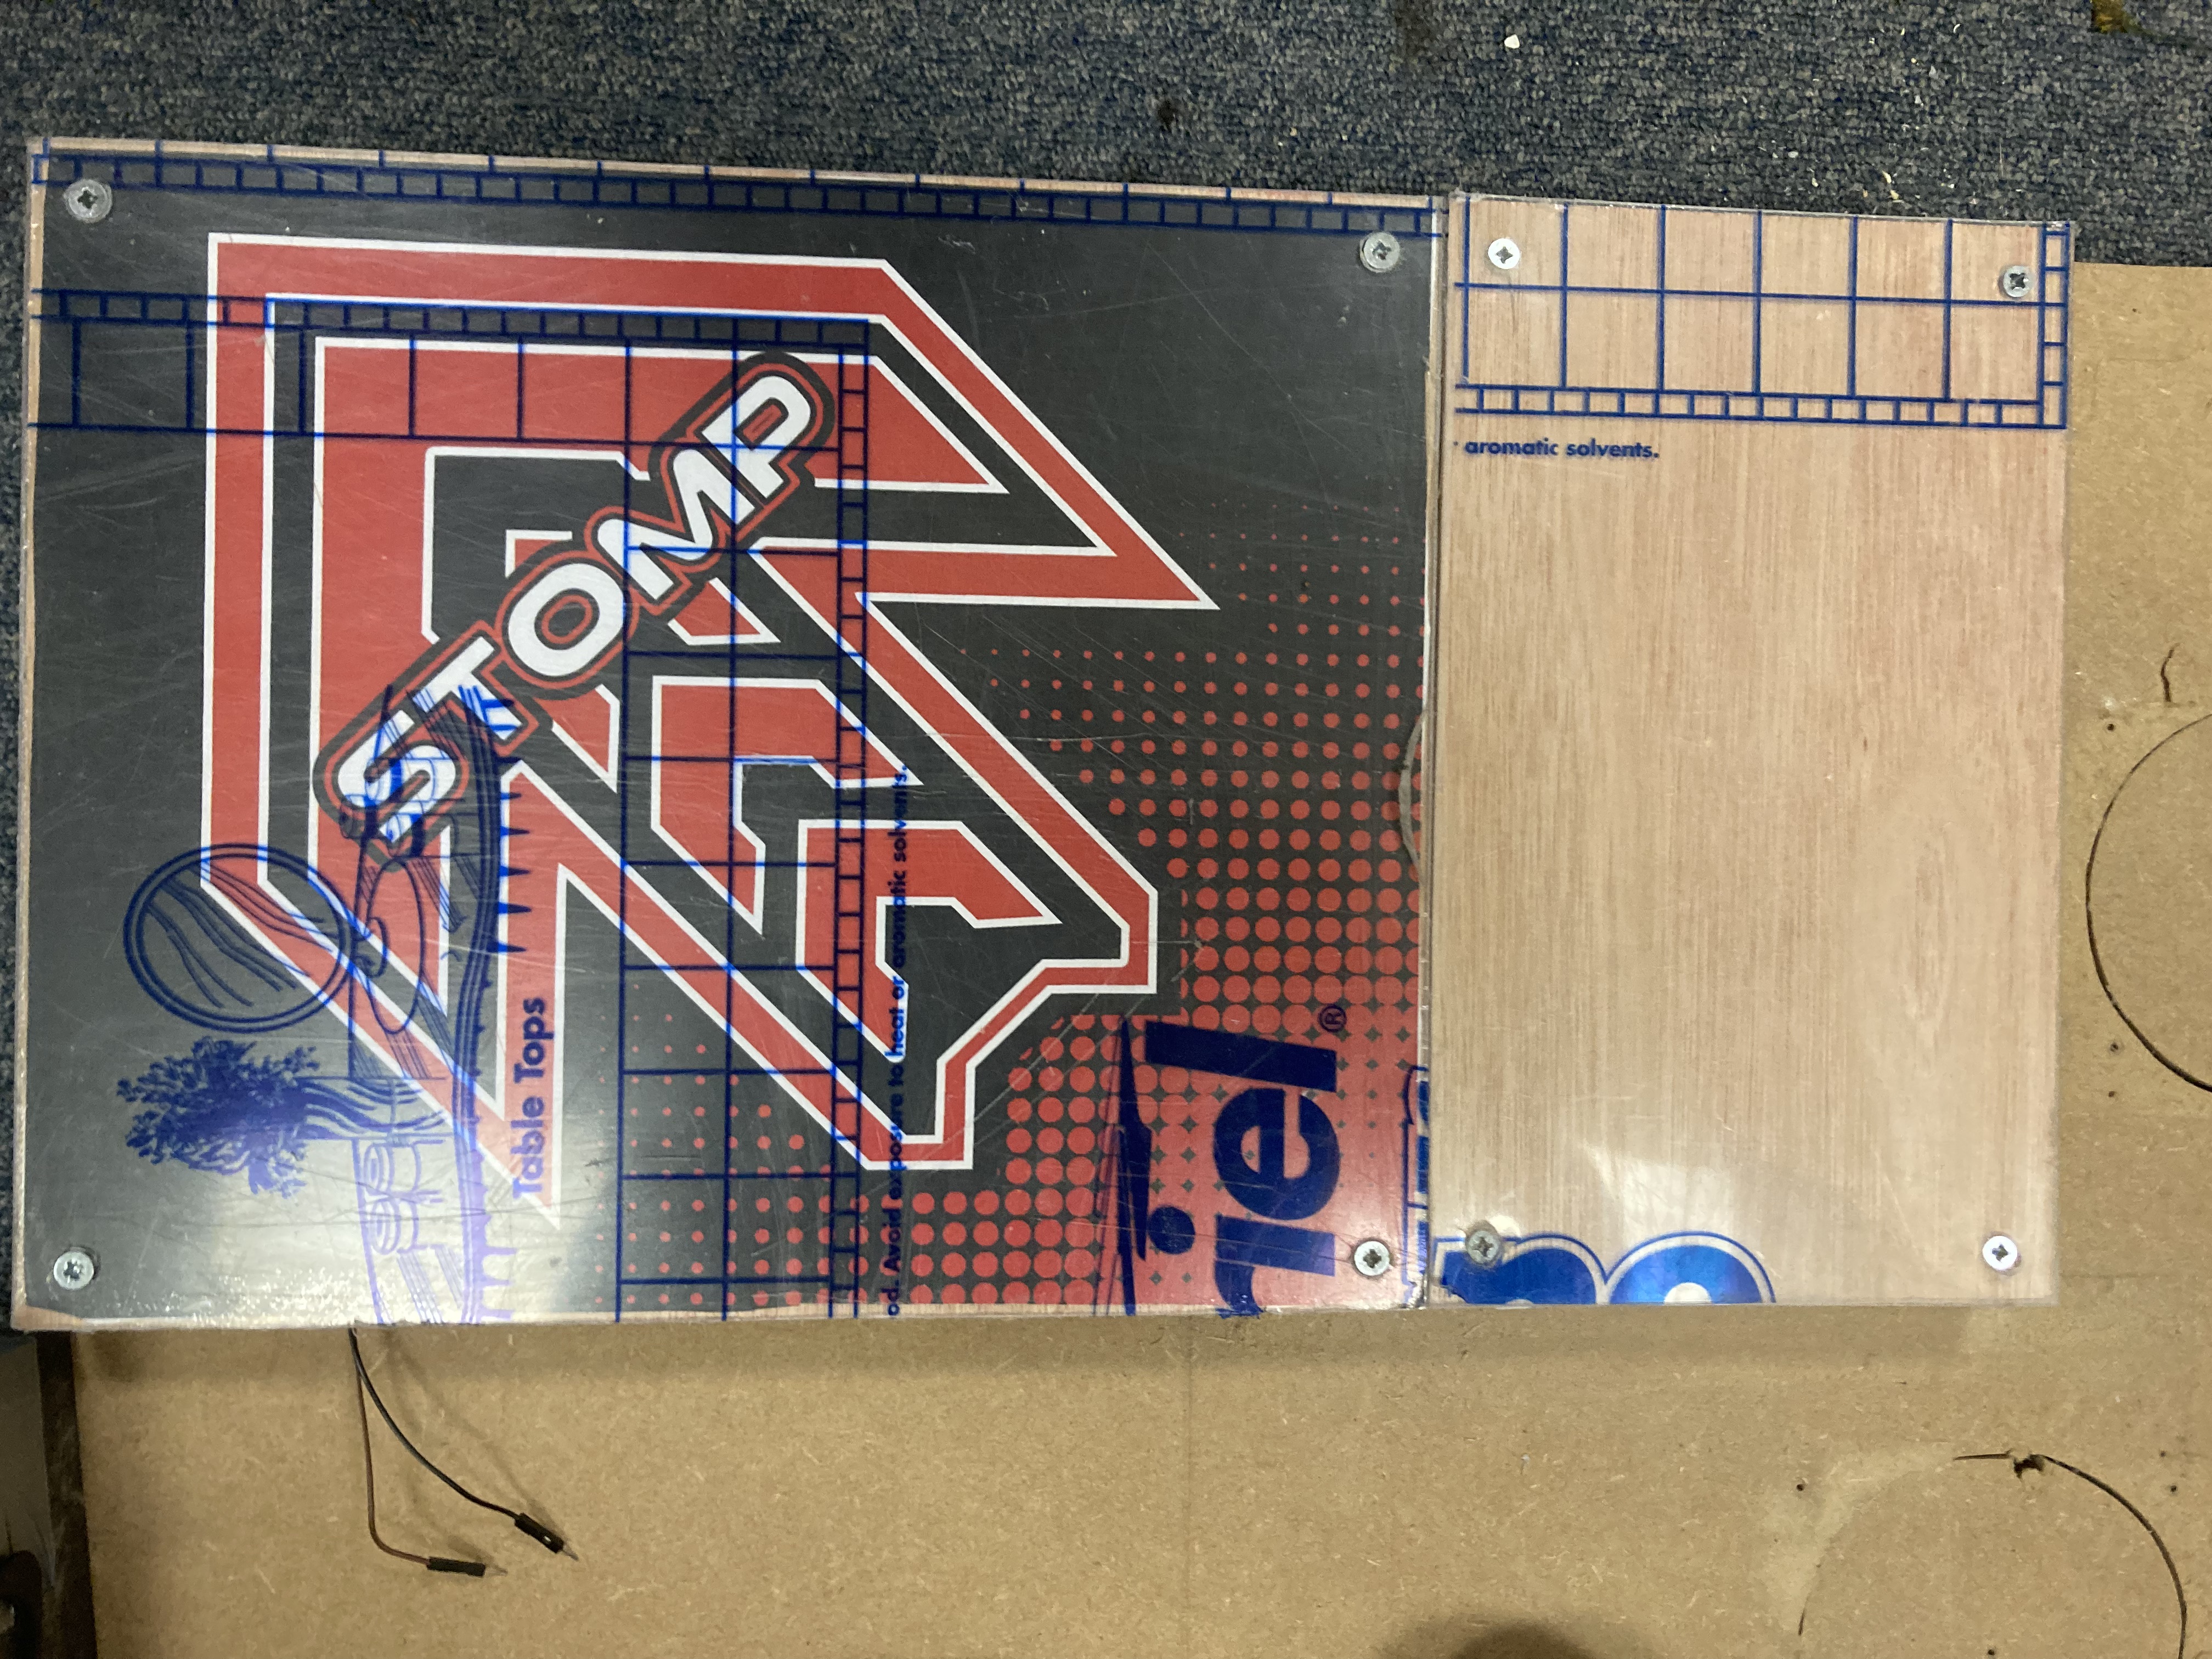 an active and inactive panel mounted together
Moving on to electronics, after various design ideas including homemade PCBs, I decided to have a small stripboard in each panel, connecting all the sensors together for that panel. And then that running out to an interface board that had a de9 connector running to a control box (containing a pi pico) to connect the pads to a PC over USB. The under panel board design came from Joshhead on the Cons&Stuff discord, thanks!
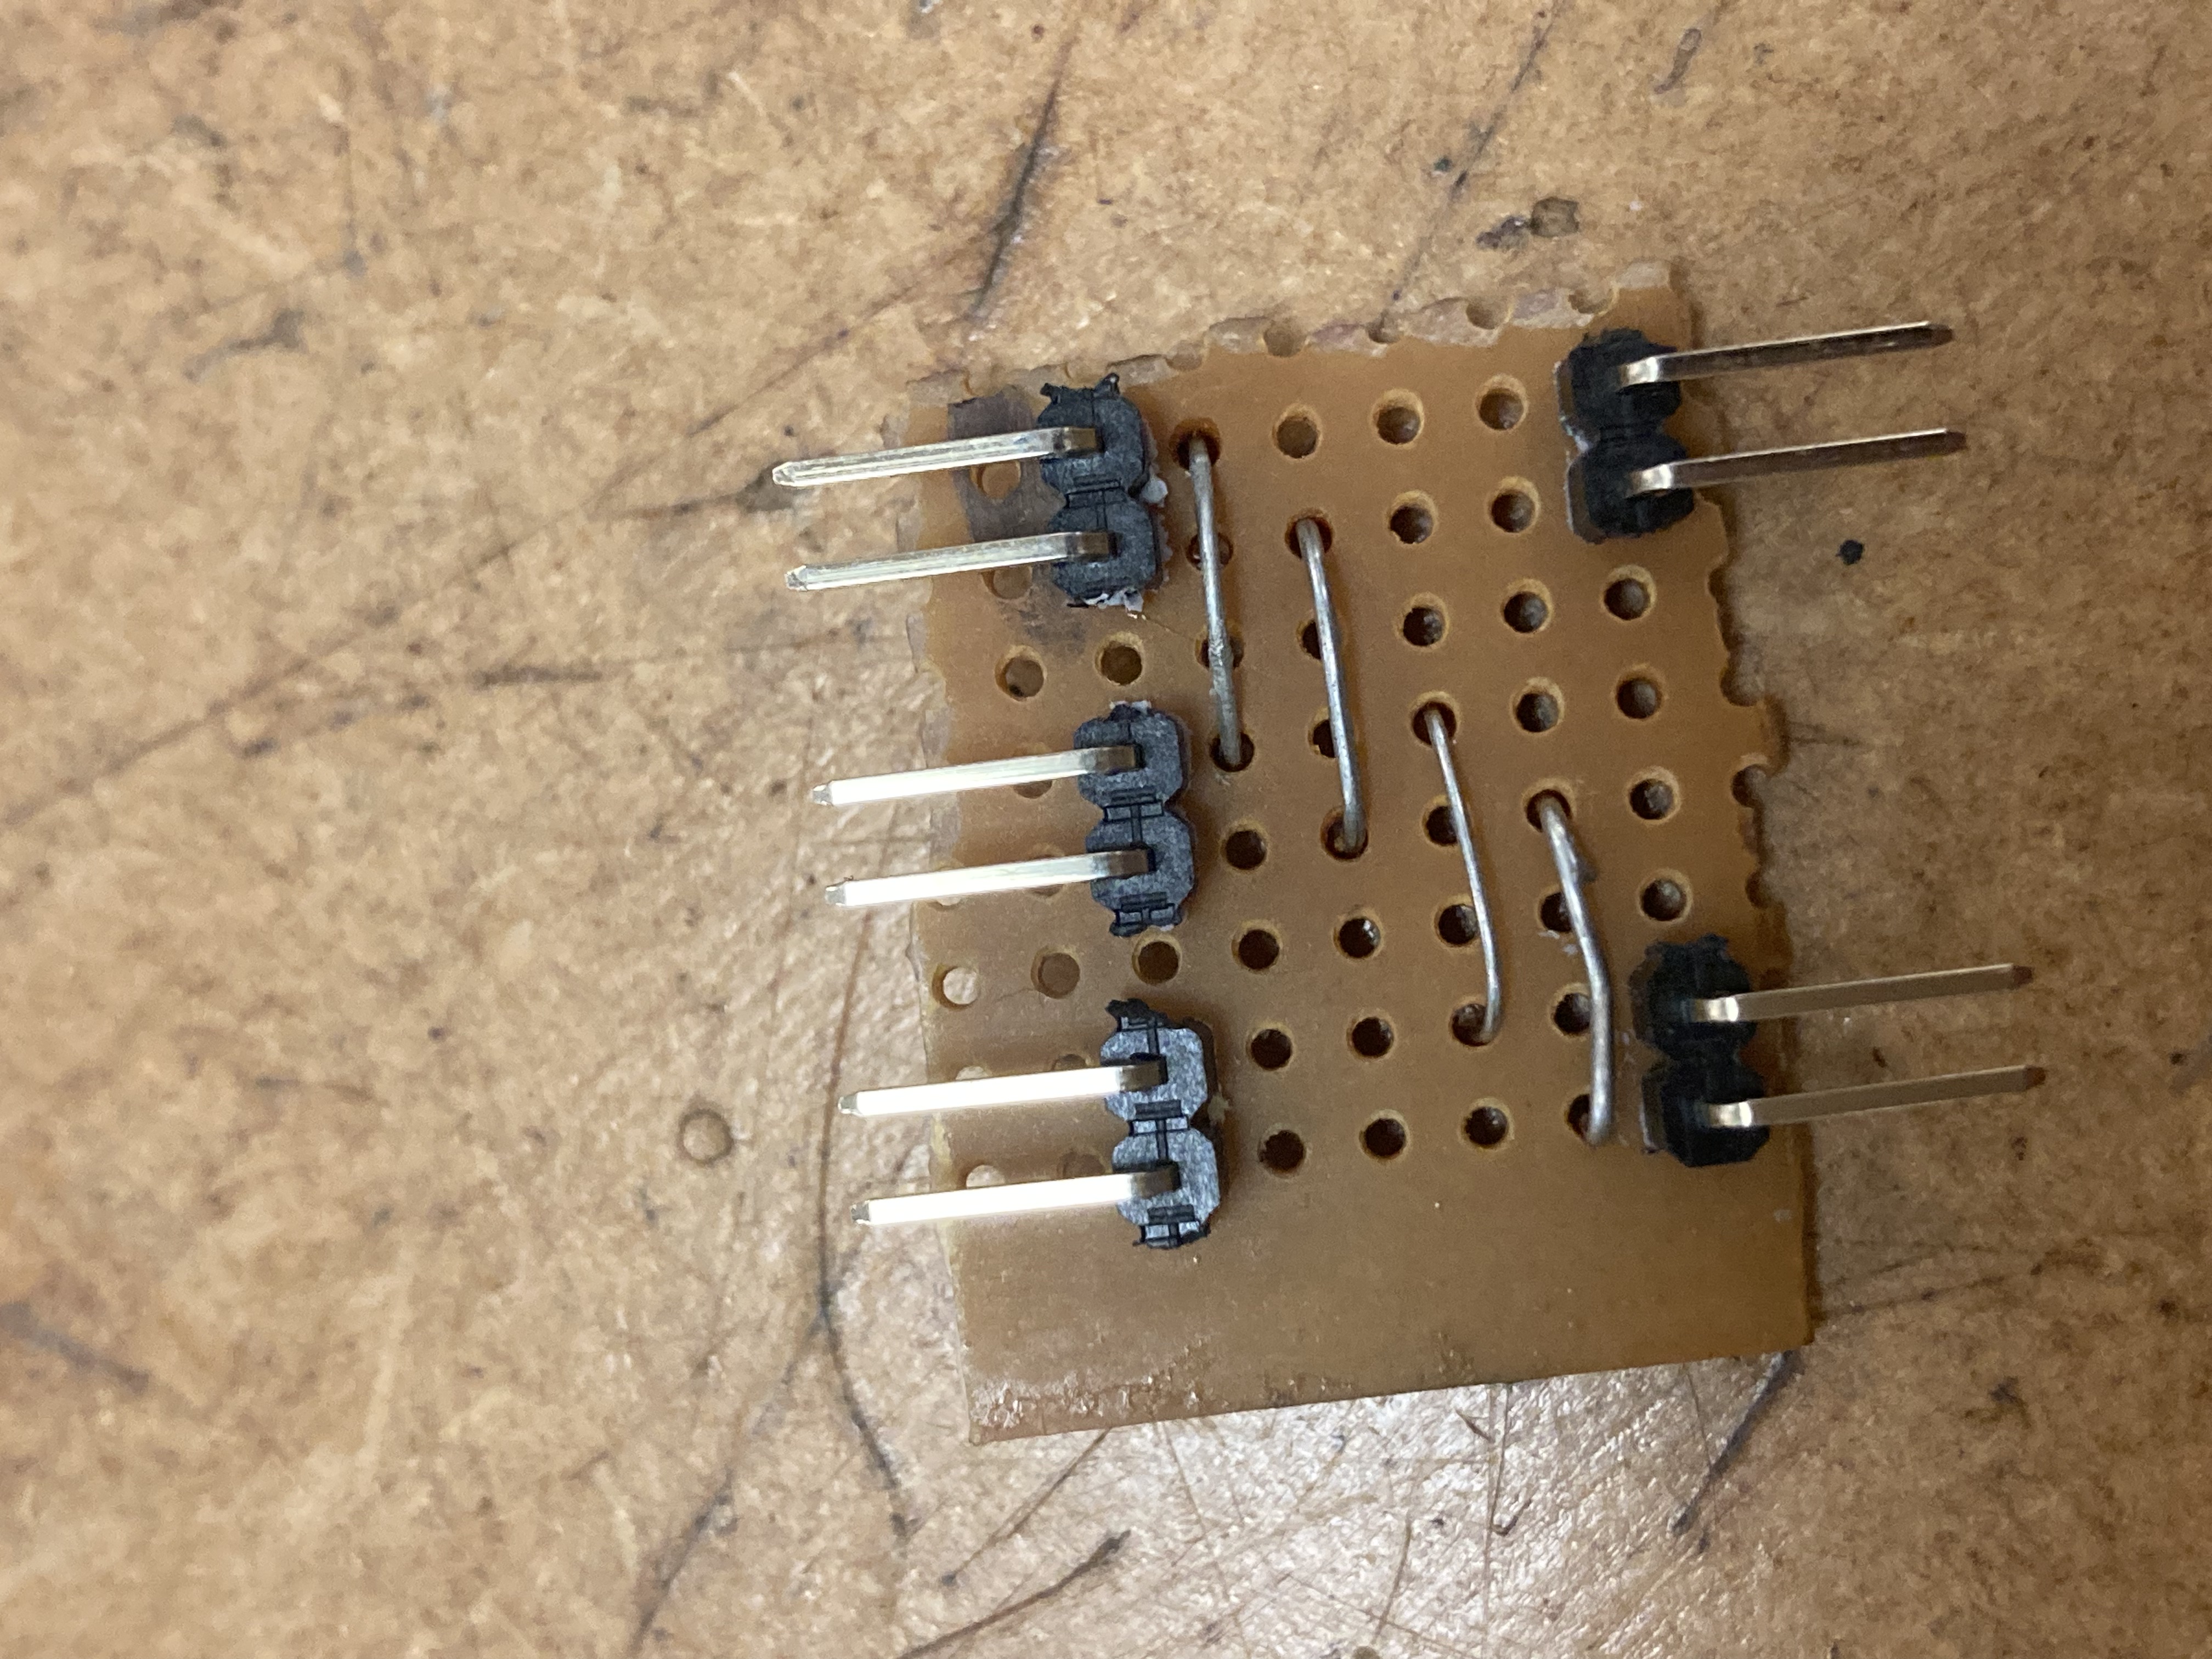 panel board
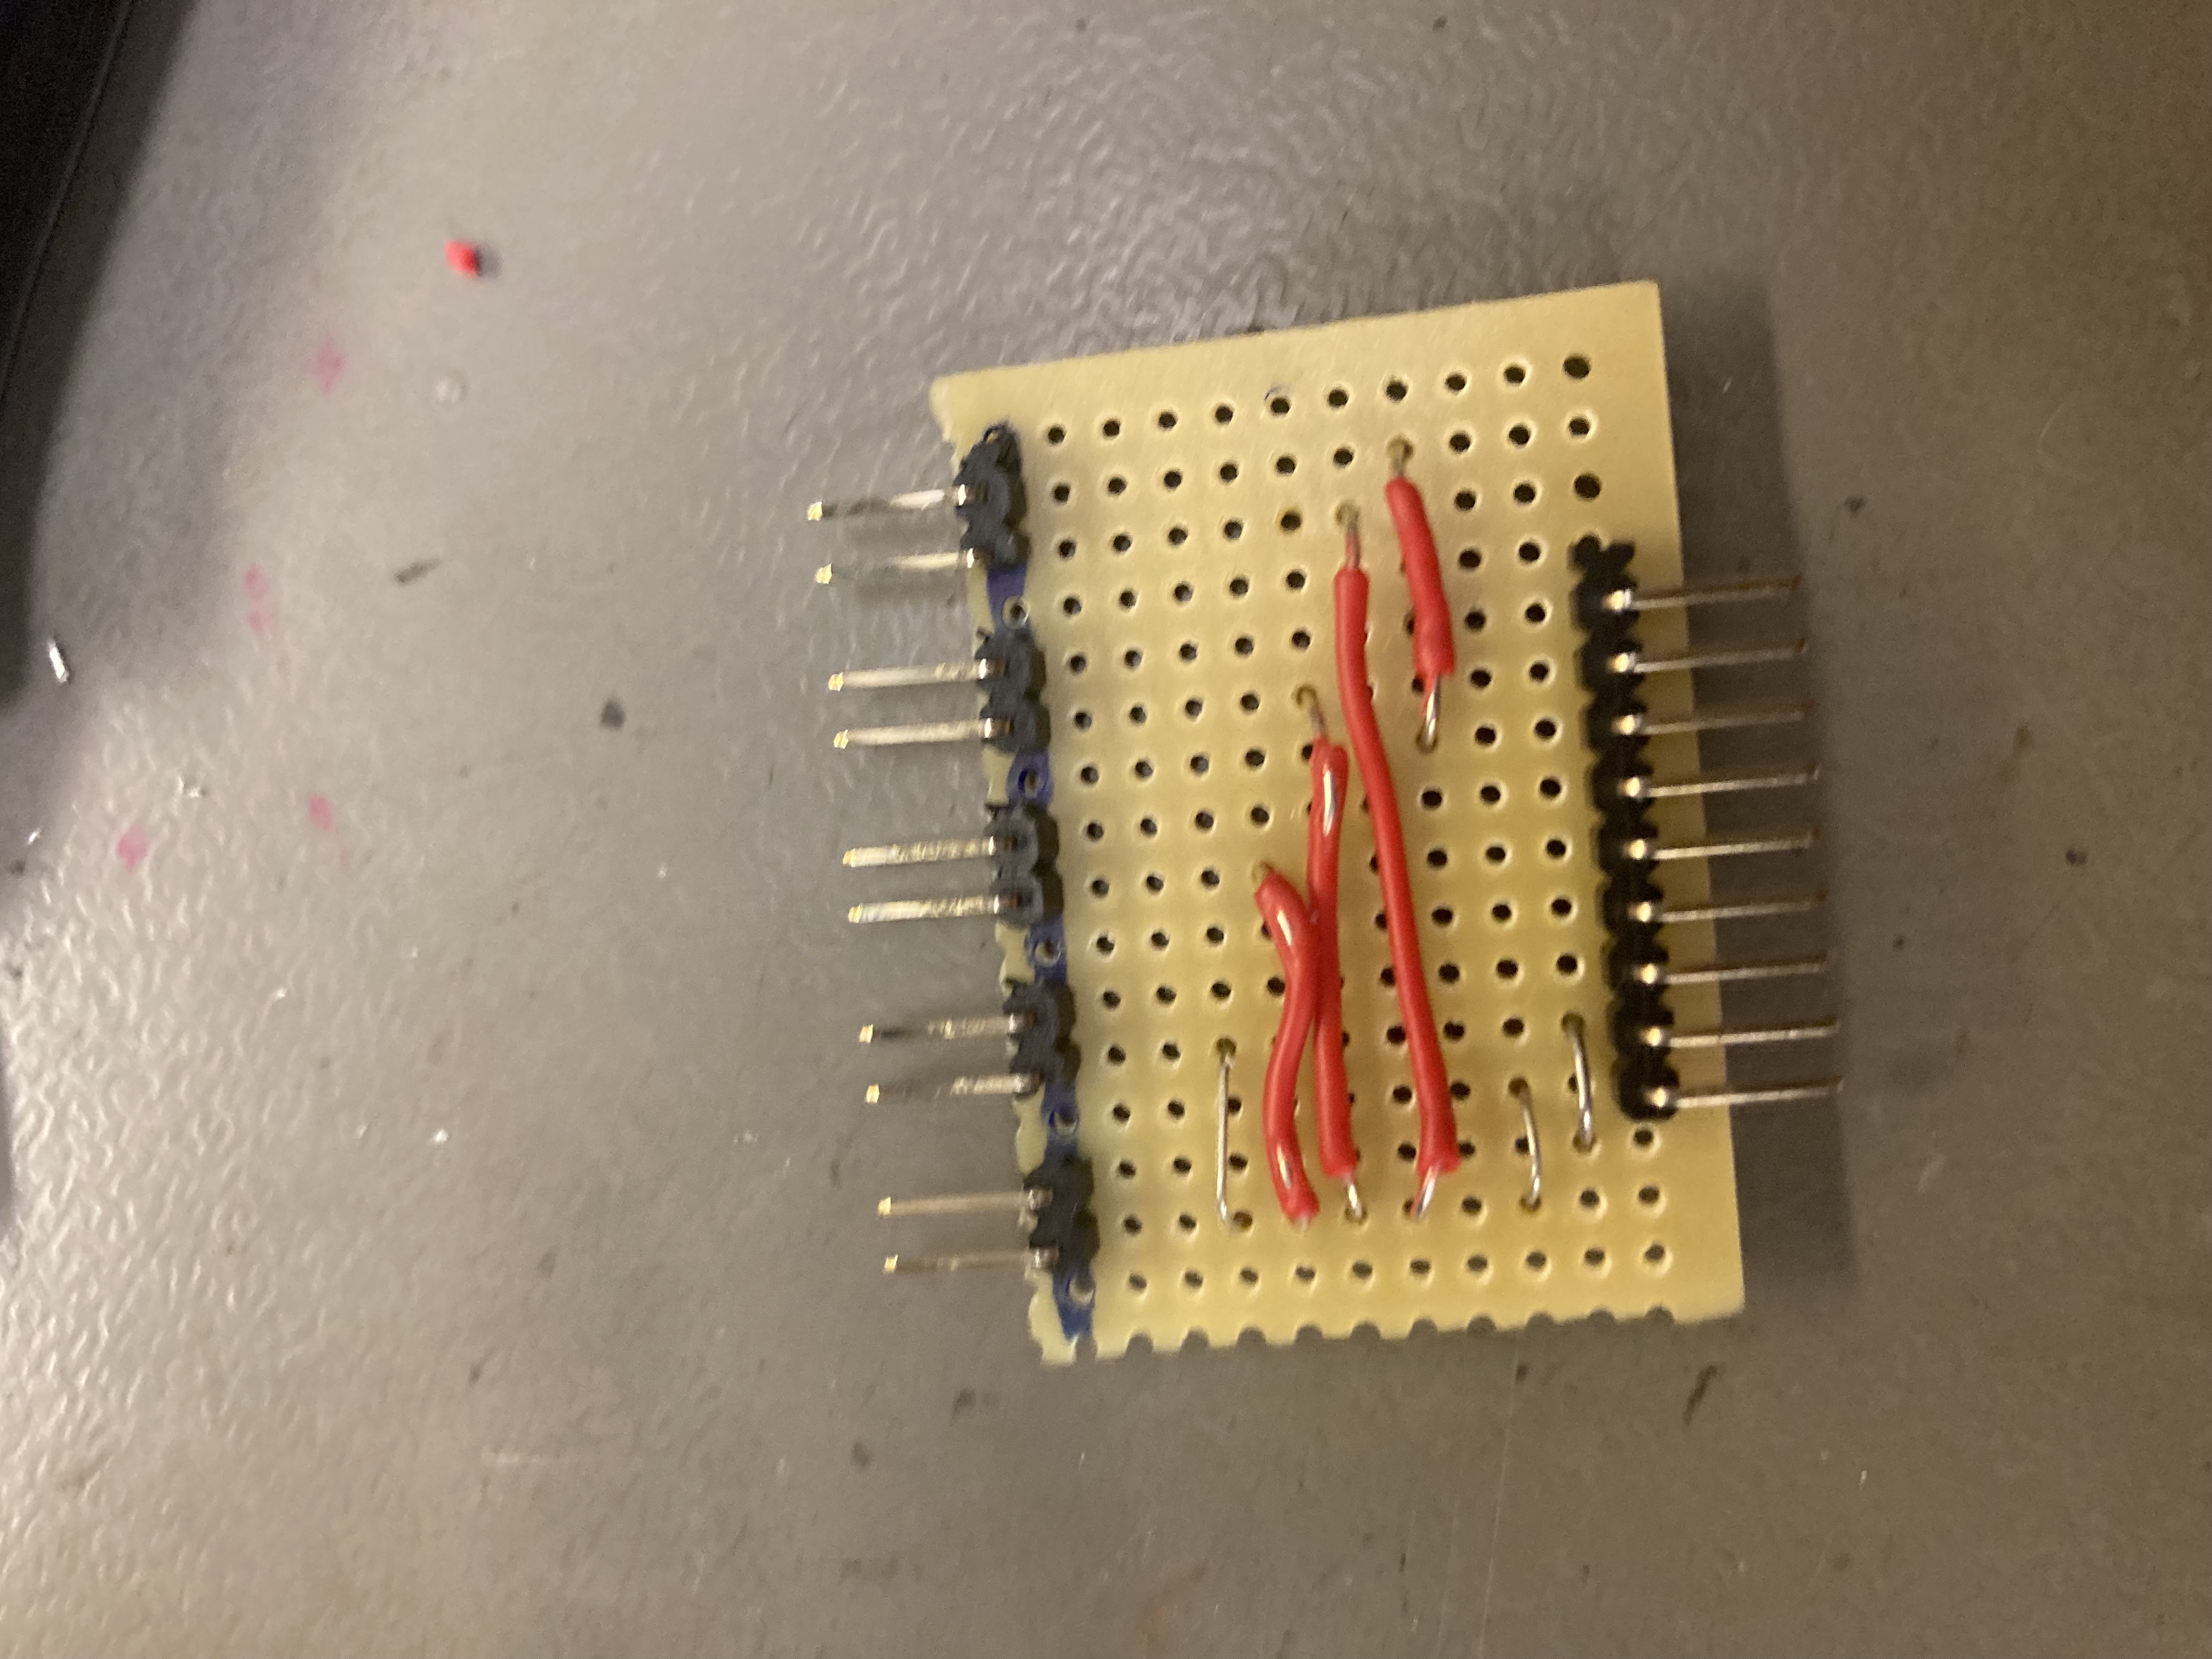 interface board
After having all the design for the panels in place, I (rather tediously) copied everything for all the other panels. This sucked to do - getting the plastic and wooden panel holes to align was awful, cutting the plastic was awful, I never want to do this again. I wired up all the panel boards to the interface board with dupont connectors that I crimped myself, and also wired up the interface board to a DE9 connector mounted to the front. Then the pad was functionally complete!
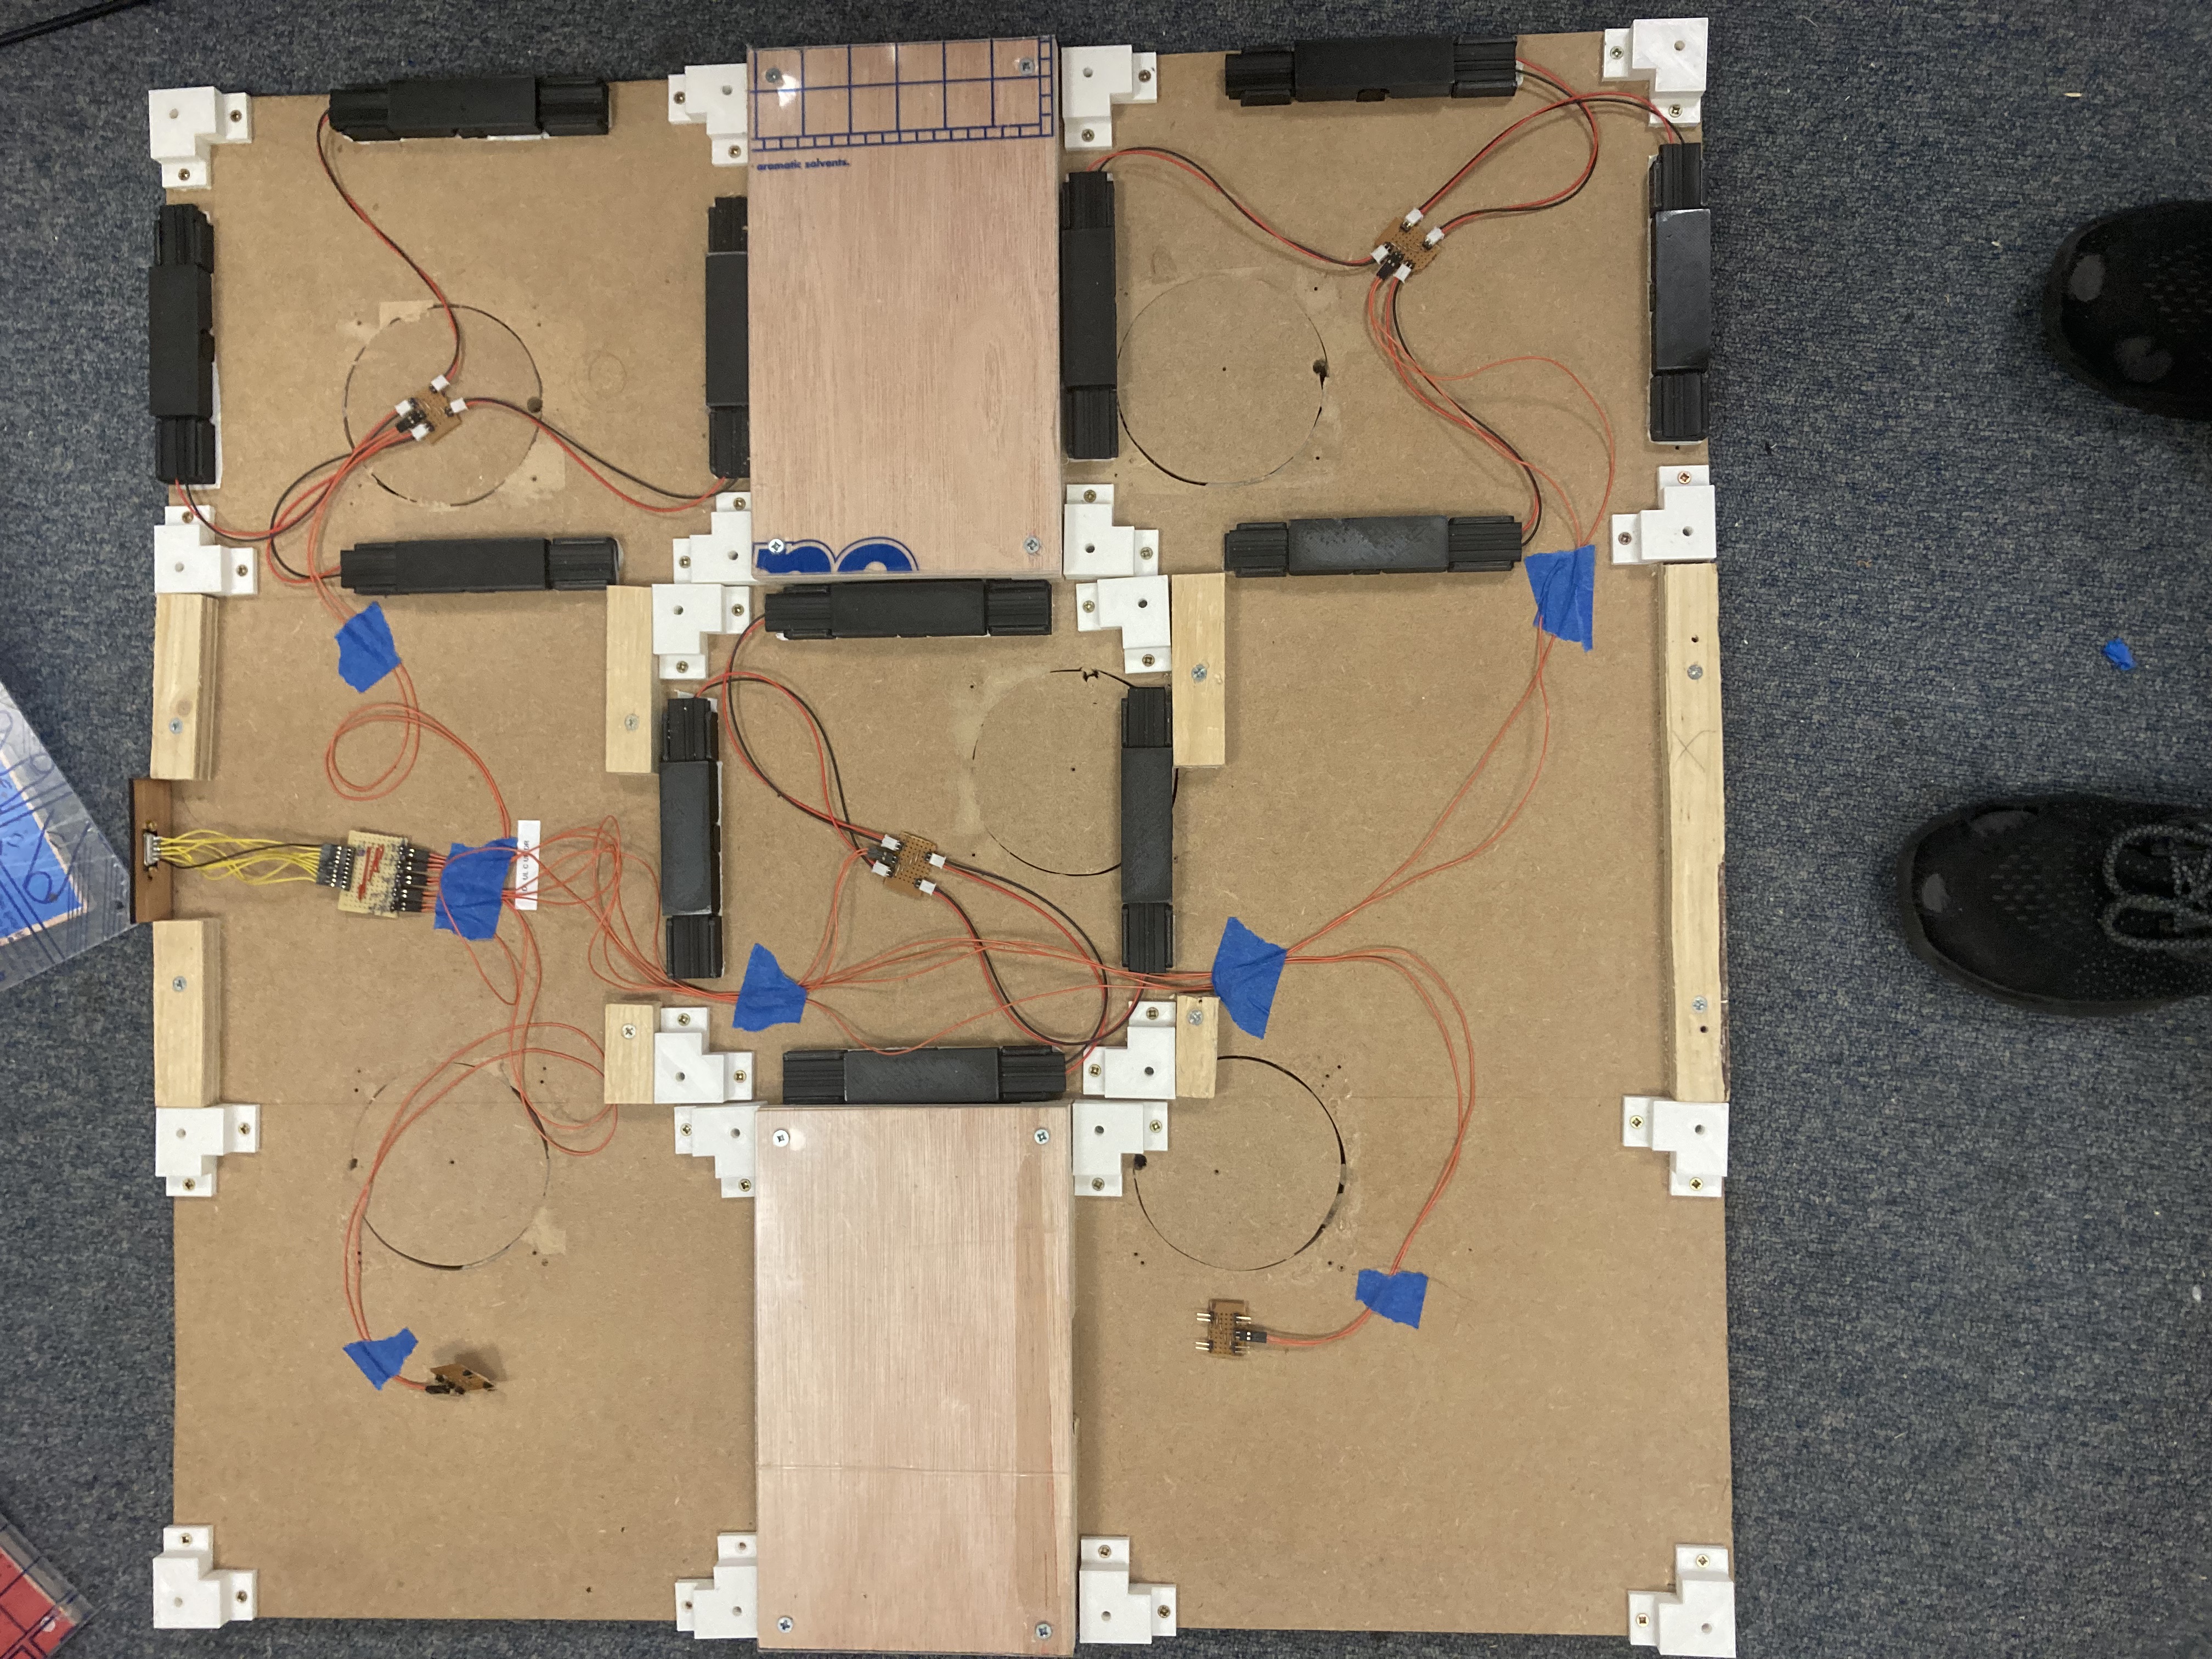 wiring up the pad (the photo is missing a few sensors and I don't know why. I think I decided to replace the mounts for them for some reason)
)
wiring up the pad (the photo is missing a few sensors and I don't know why. I think I decided to replace the mounts for them for some reason)
)
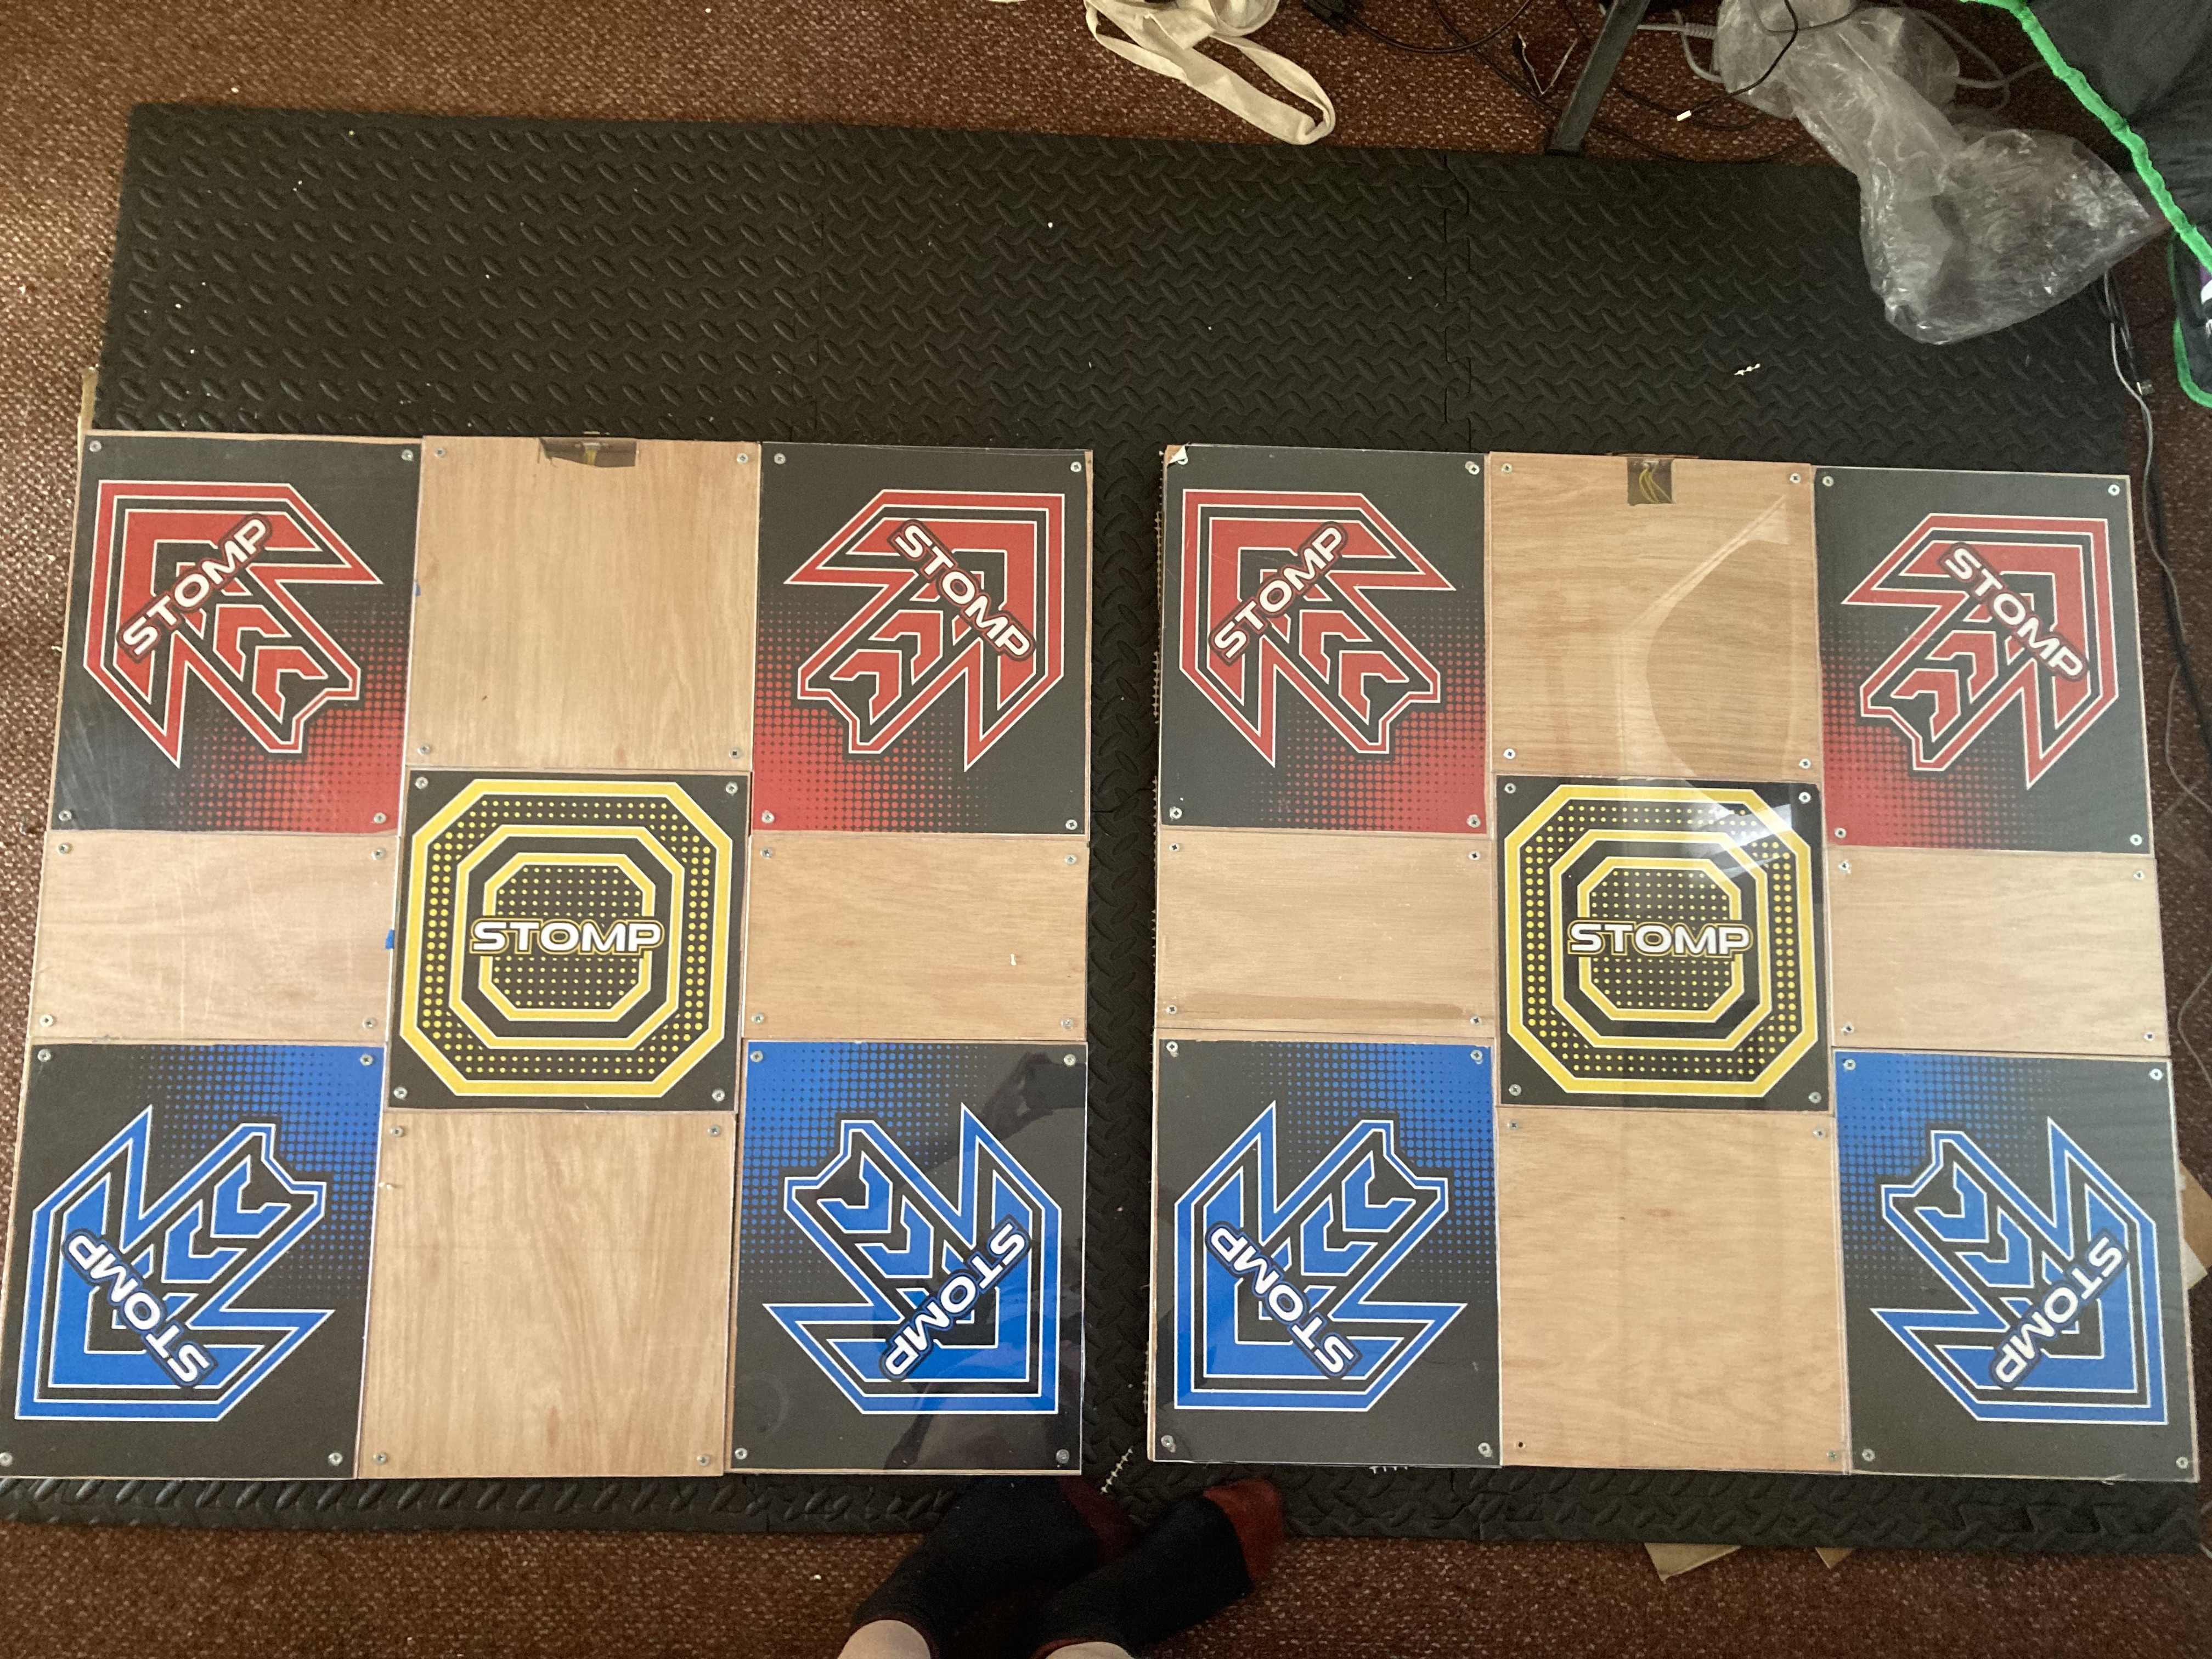
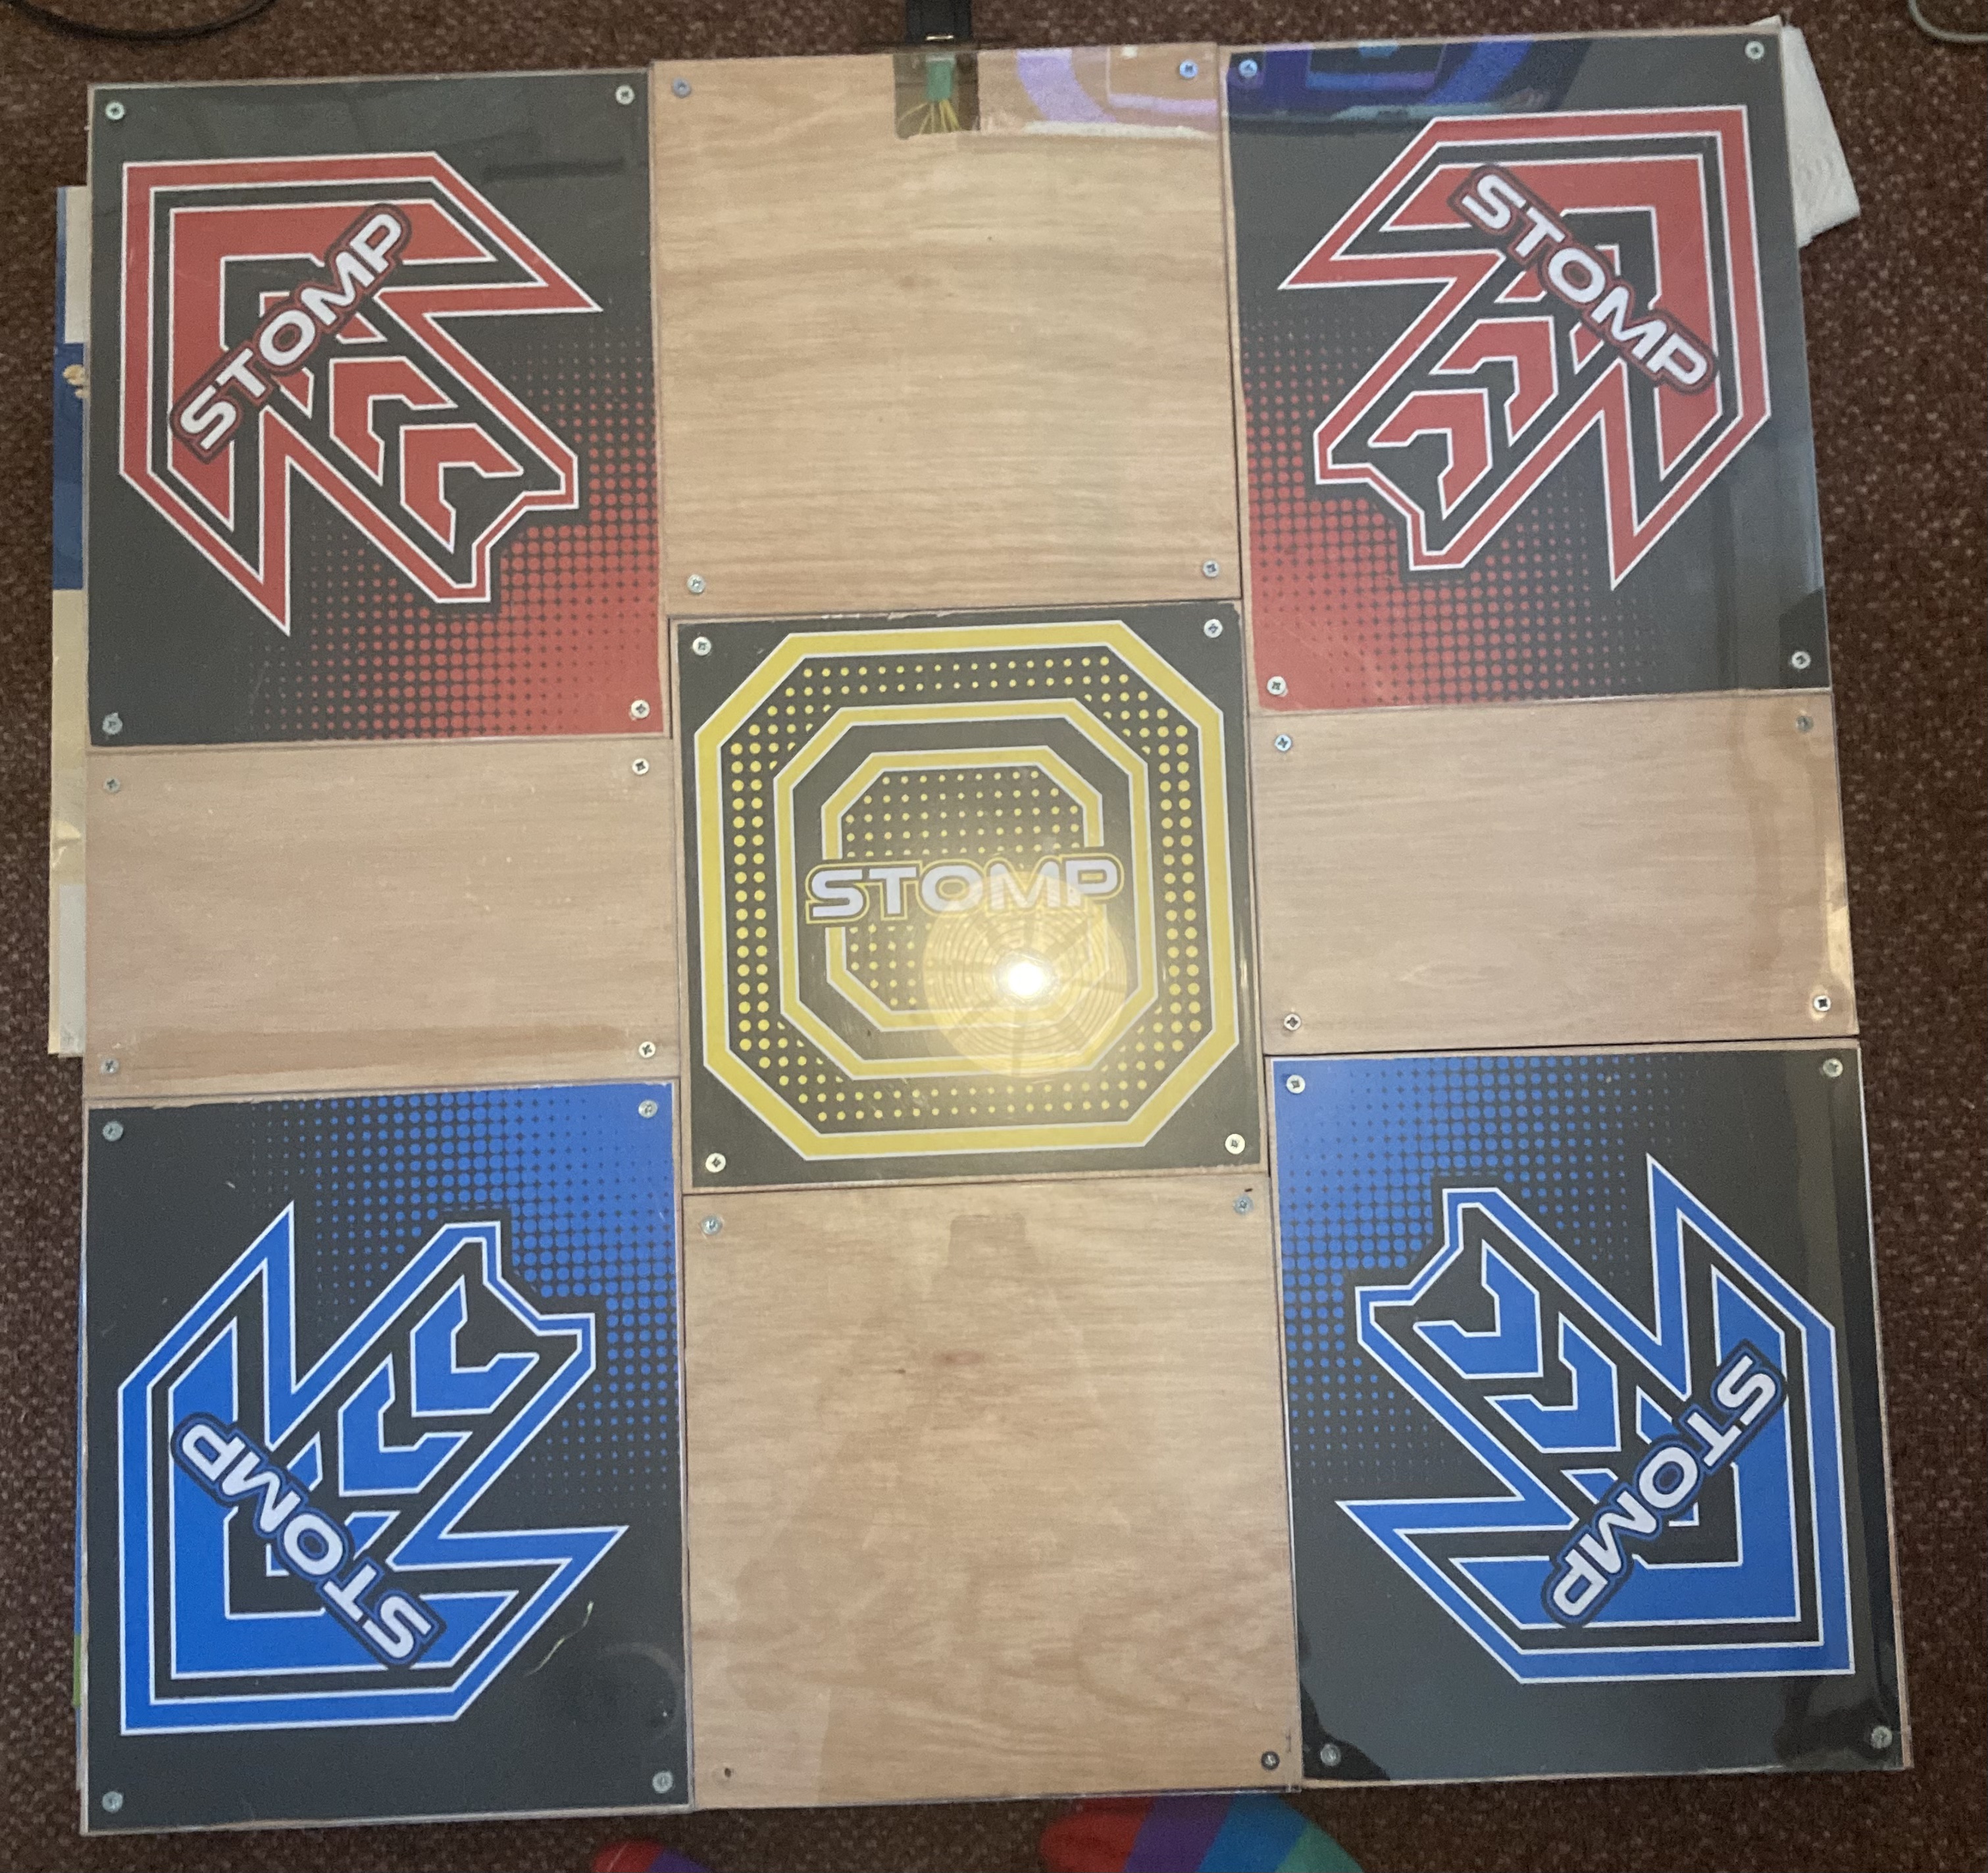
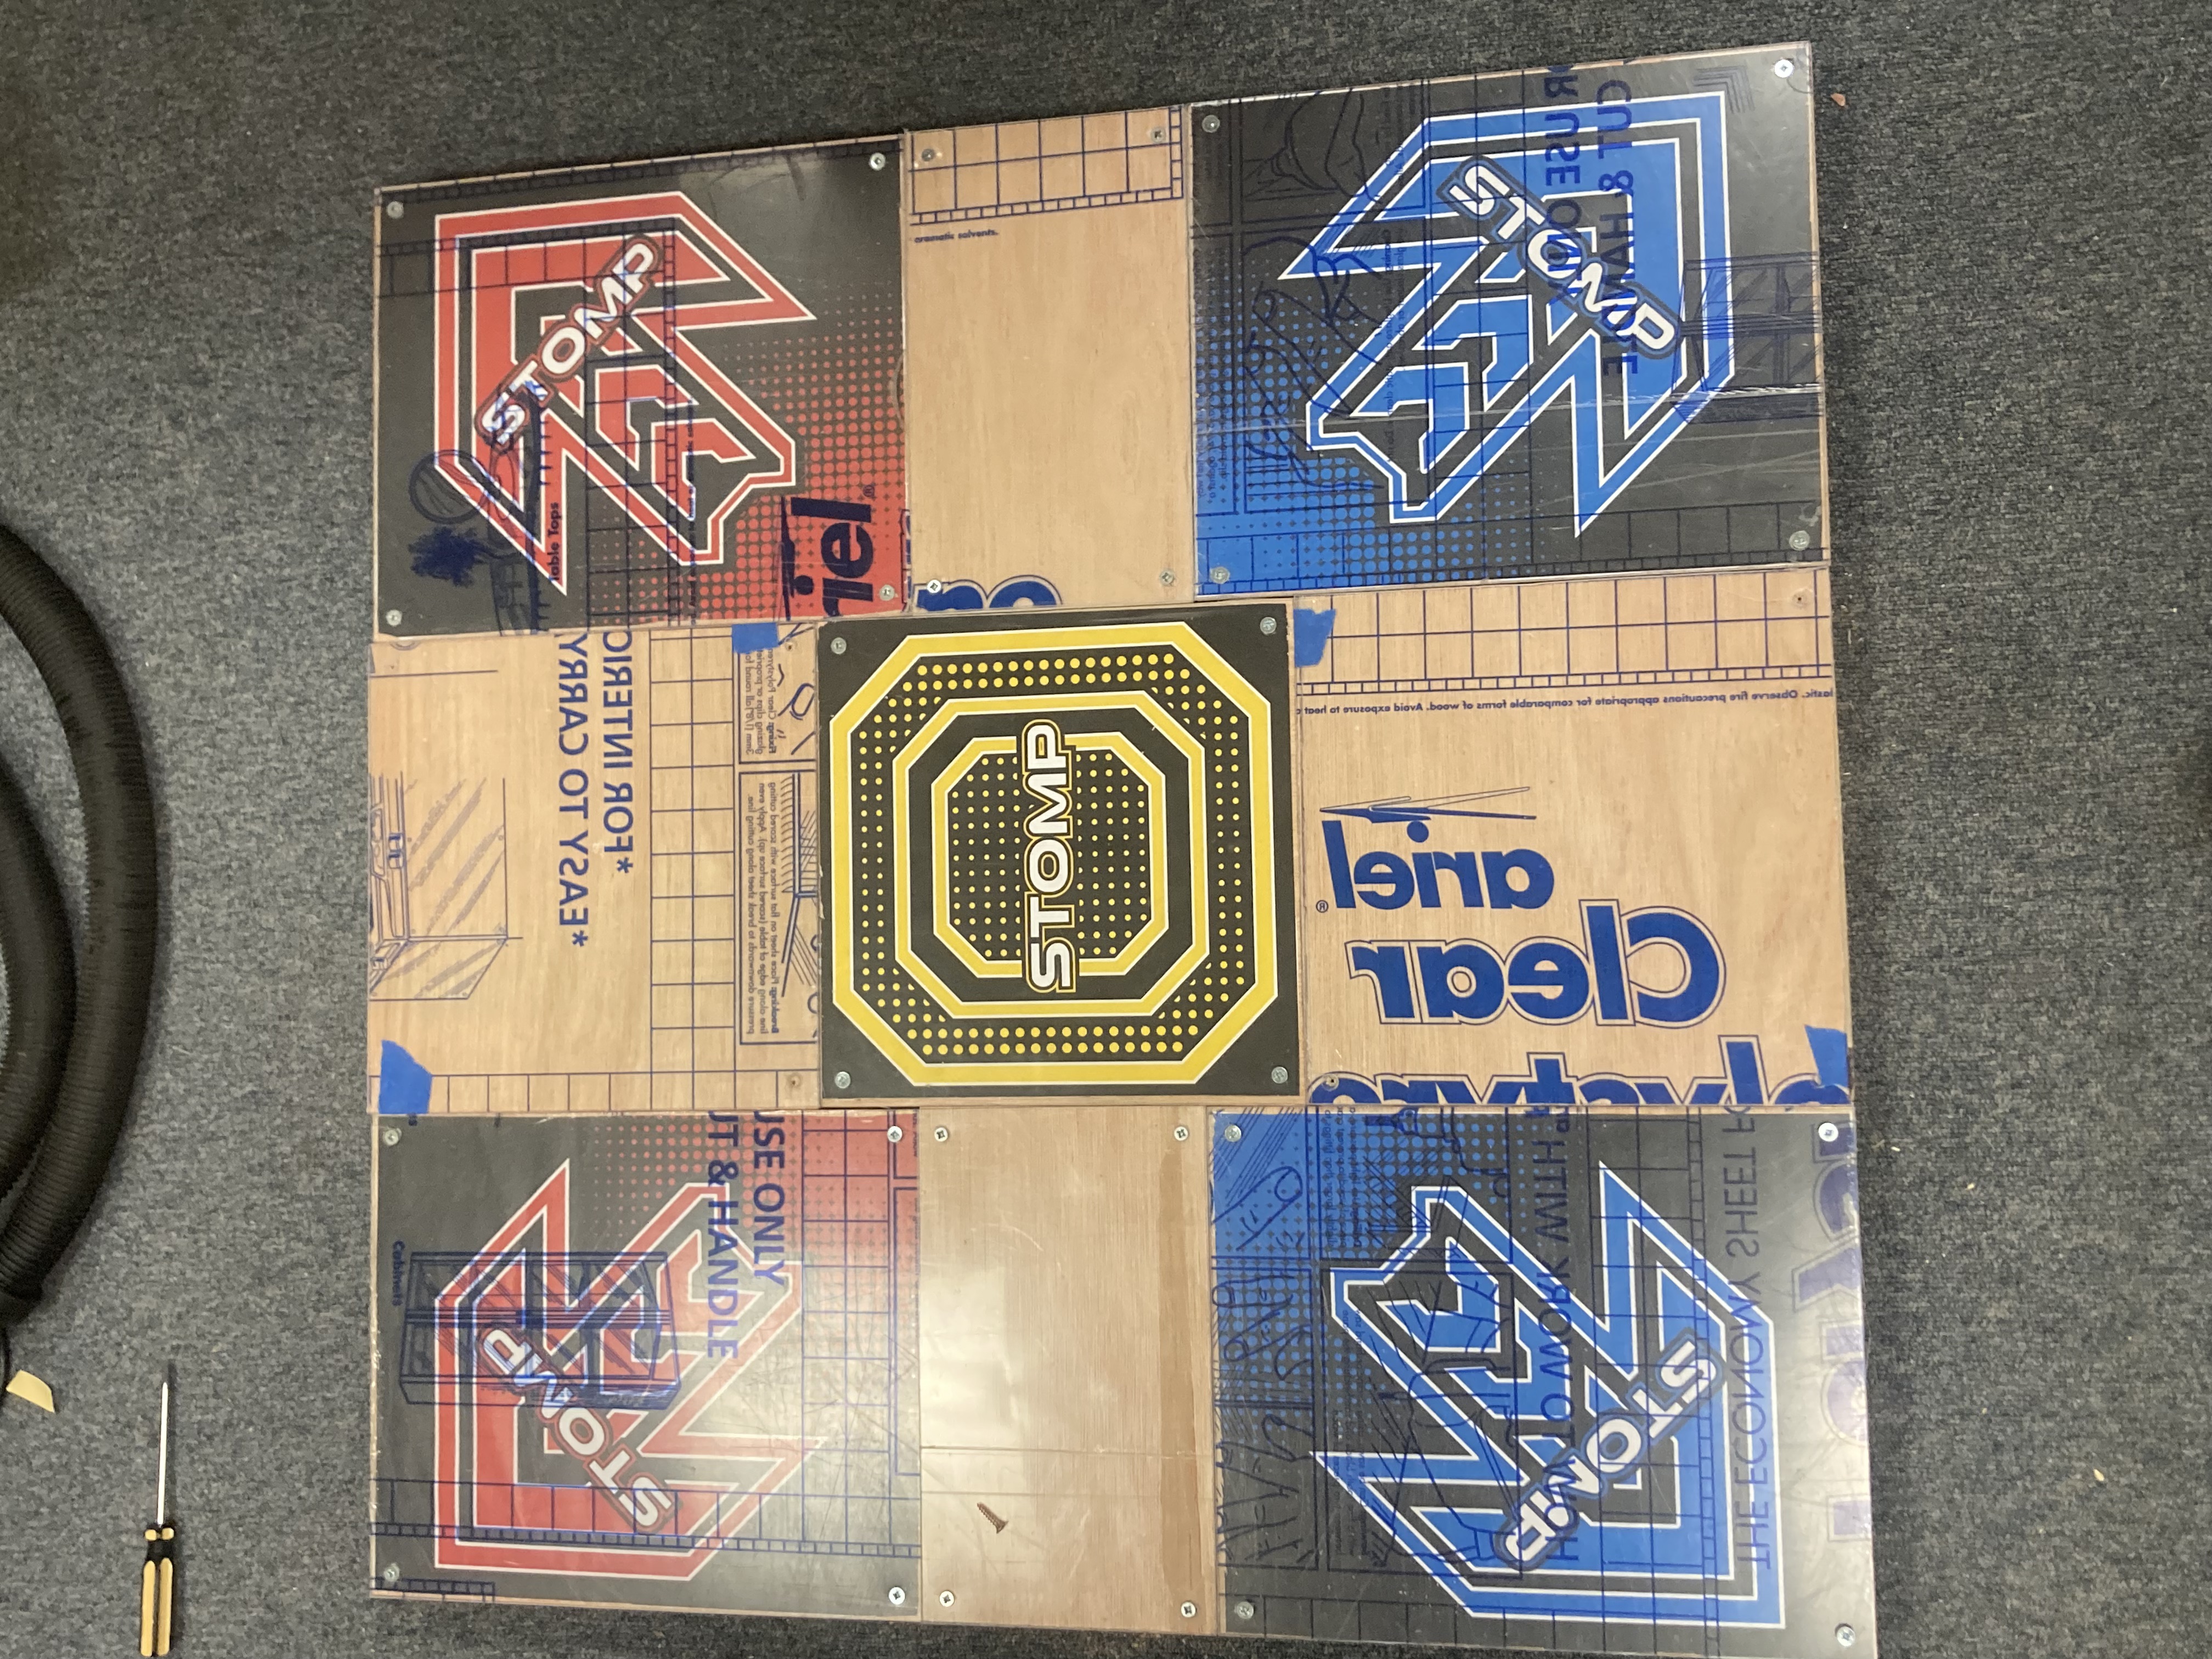 pad 1 "finished"!
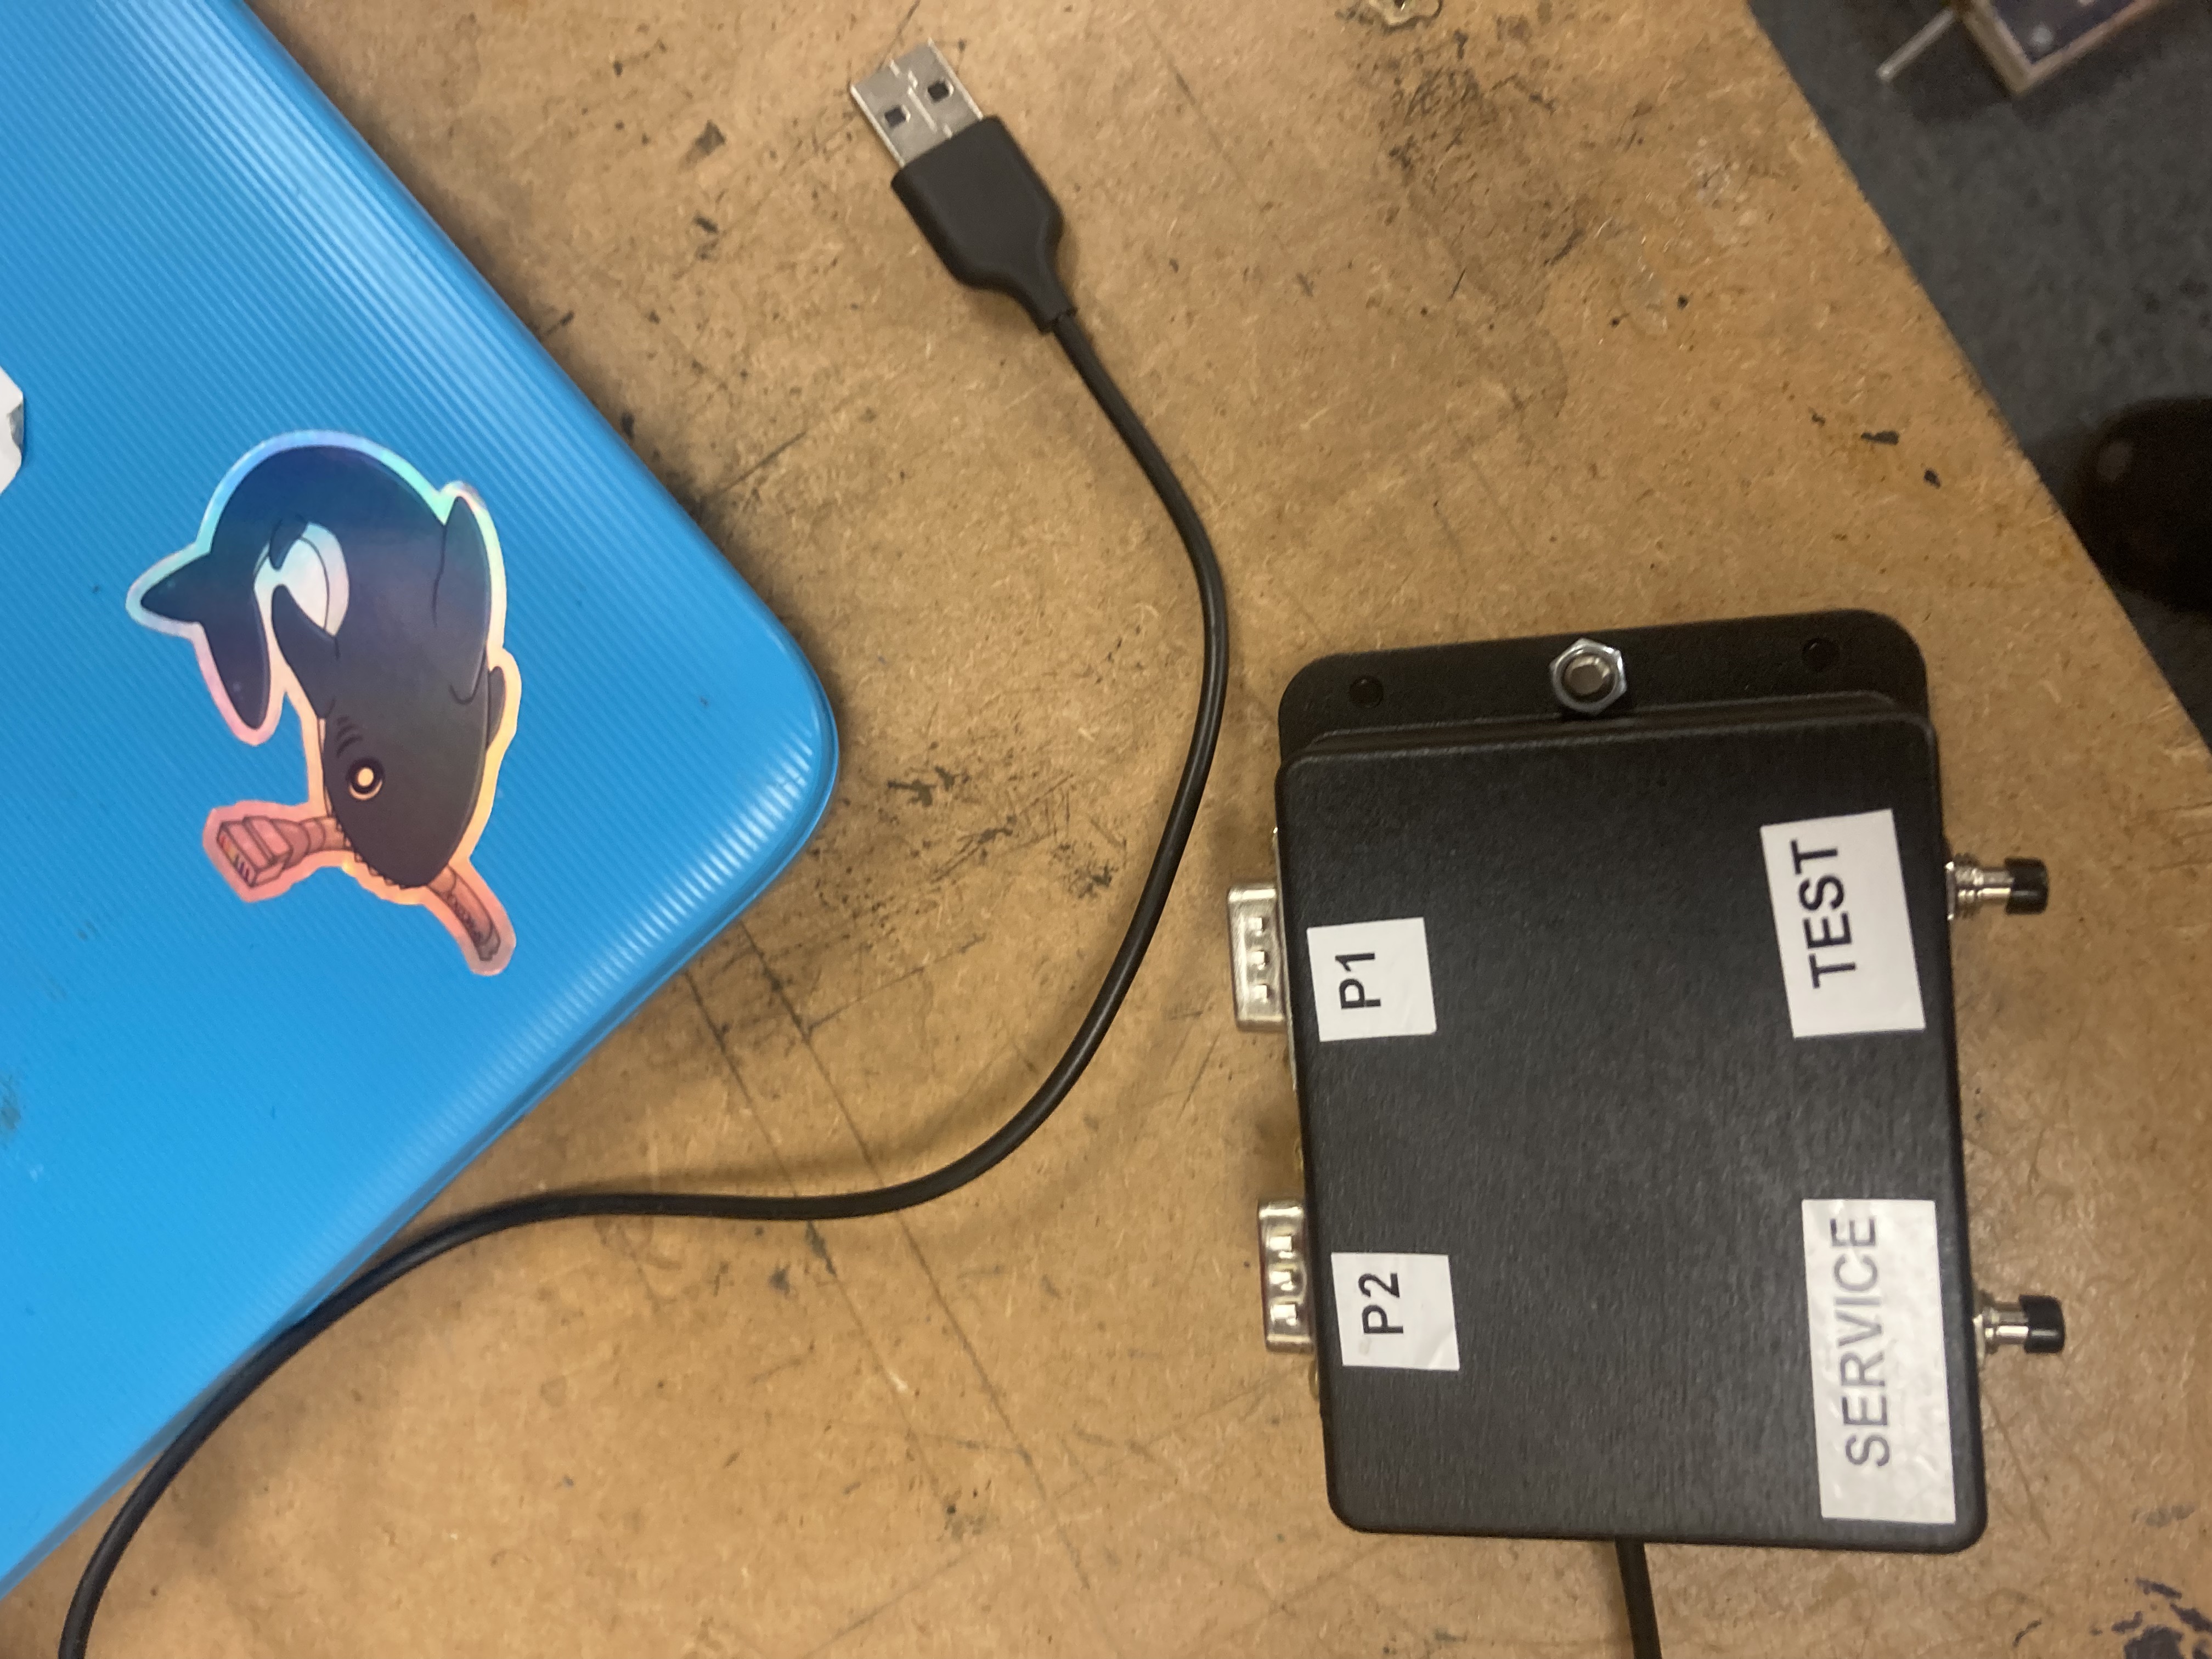
The control box is so boring I failed to get any internal photos of it. It's a pi pico in a project box with two de9 connectors wired into it. You can imagine it. It's running some random pi pico game controller thingy I found online. I lost the code. It doesn't matter.
Then I took the pad home and removed all the protective plastic foil.
Then I did everything again for a second pad, which sucked even more because there wasn't even a fun design process. I struggled to get it finished, and struggled to find the energy to work on it. Building these things genuinely sucks because of how annoying all the materials are to work.
On the second pad I tried to make a few improvements like using tee nuts in place of captive nuts in the wooden parts, and adding protective 3d printed corner bumpers. but this ended up being worse. So it ended up practically identical in design.All that was left was to attach some non-slip mat (sold as being non-slip rug underlay on ebay etc) to the bottom of the pads, and we're done!
Things I would do differently a second time
You may have noticed I have not been linking many of my designs in this post. This is because they suck. If I did this again, I would use proper solid plastic for the panels, and I wouldn't use the weird thin horrible to work polystyrene stuff. I would be way more accurate with measuring. I would build a full proper frame instead of just using 3d printed mounts. I would probably totally do the electronics differently too. I do not think anybody should build dance pads this way.
They require recalibration every time they are used, they're slippy, the sensitivity isn't great, and they take up a pretty decent chunk of space. They're flimsy, totally die on any floor that isn't completely flat (I have had to put down gym mats in my house with lots of cardboard props underneath to level the floor for them). But they work, and ended up costing me less than 150 pounds to build.
Thanks to everybody at York Hackspace for helping me out with this project, and letting me use their leftover and scrap materials!
You can support this site and all the things I do on ko-fi.